Five Ideas for Scrapbooking with Creative Titles by Gina Lideros
When I saw the Shimelle collection I was instantly taken with the bold shades of pink, turquoise, and orange. I love color, and gladly embrace it any chance that I get! I couldn’t wait to dive into the glittery rub-ons, die-cuts with gold foil and embossed images, wood veneer, layered stickers and printed cork pieces. I also fell in love right away with the two packs of Thickers letter stickers, included in the collection. I couldn’t wait to get the collection in my hot little hands and create with it. And, even though I love Thickers (I do, I really do!) and hoard them any chance I get, I couldn’t wait to create my own custom titles. Which brings me to my post – five ideas for scrapbooking with creative titles.
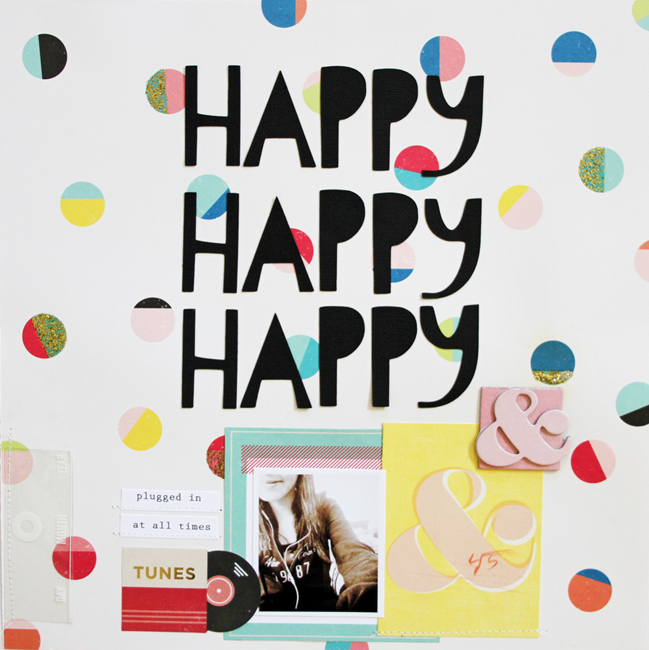
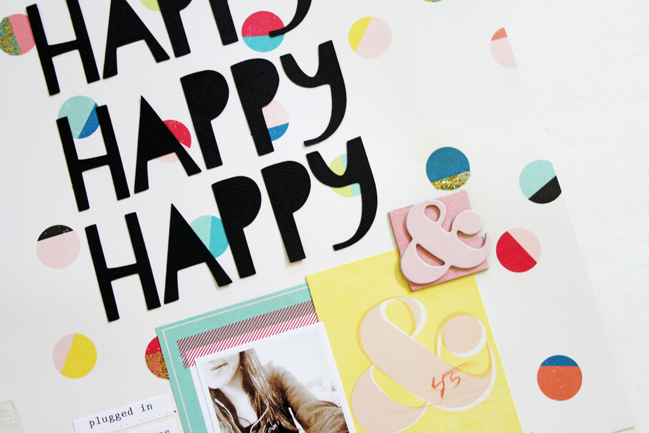
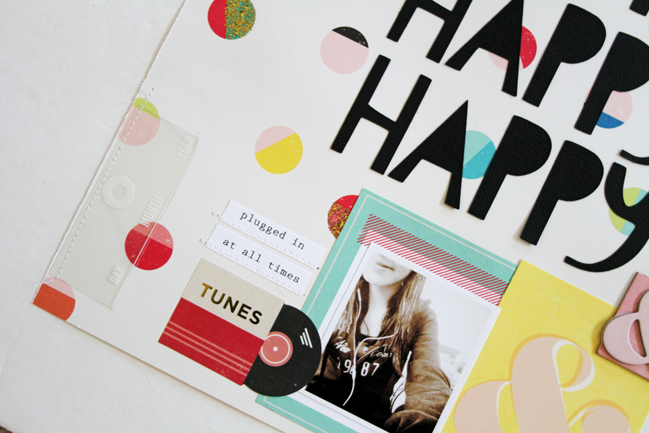
Happy
Hand cut letters are all the rage and are becoming a big trend within the scrapbook community. I decided to create my own hand cut letters and used them as a graphic design element on my page. To create my hand cut letters I first hand drew the word happy onto black cardstock paper with a pencil, and then cut it out. Since I decided to repeat the word “happy” three times to create my title, I just retraced them two more times and then cut them out by hand. This technique creates a fun handmade look.
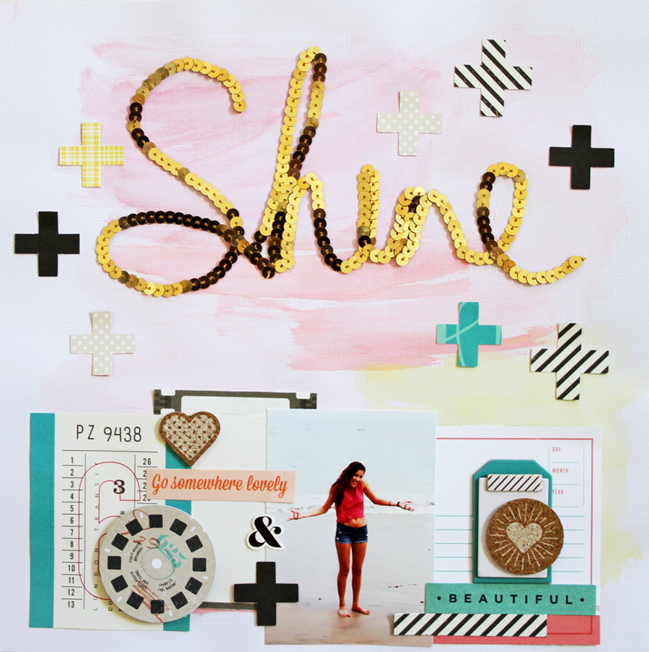
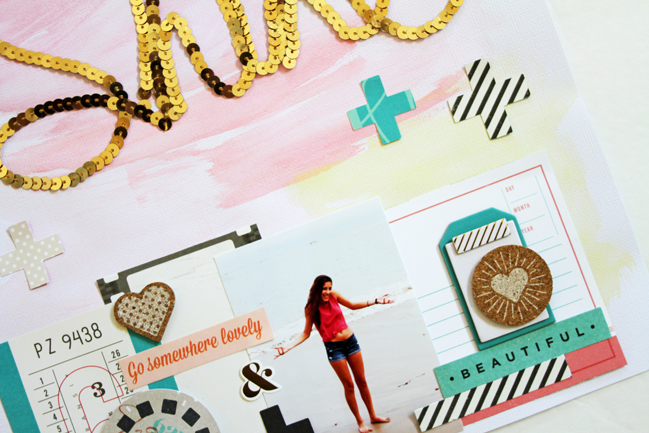
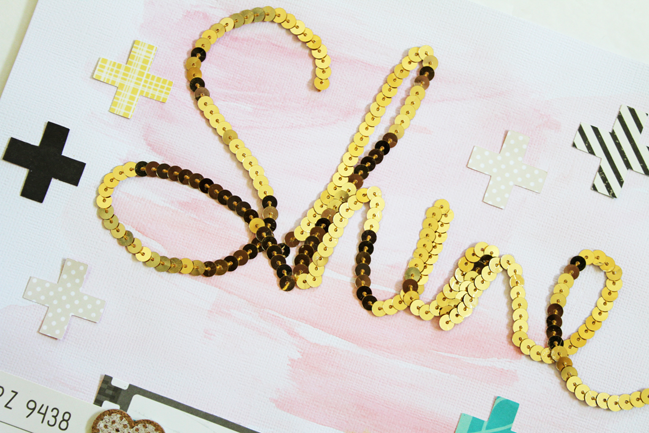
Shine
Creating a sequin title is easy and creates a big impact on a project. The idea to create a sequin title came to me while I was at the craft supply store looking at ribbons and I saw sequins sold by the roll. Because they are already stitched together they are easy to manipulate, position and use. To create my sequin title I first cut the word “shine” with my silhouette and then used the negative piece as a stencil. I used liquid glue to adhere the word down. I found that it was easiest to adhere the word down while the template was still in place, otherwise the word moved to much and fell out of place. To finish, simply cut off the excess from the sequin roll and make sure that the ends are glued down well so that none of the sequins fall off.
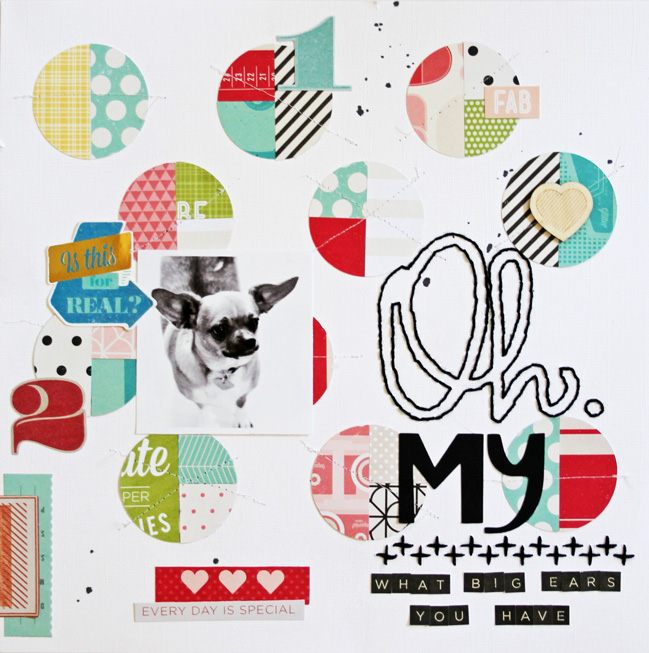
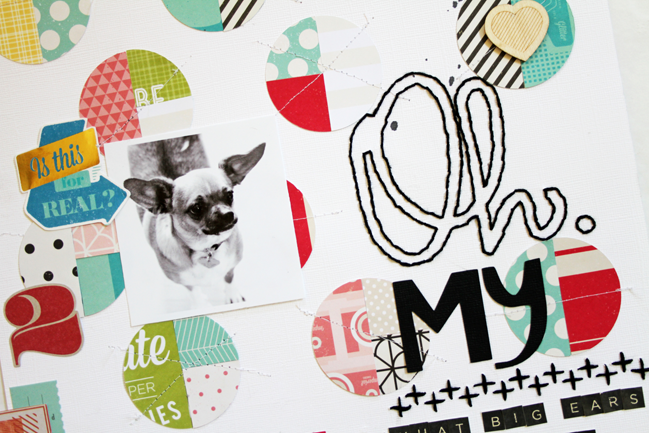
Oh My
Hand stitching is one of my favorite techniques. Sometimes I use templates, sometimes I create my own. To create my title on this page I first started by cutting out the word “Oh” using my Silhouette. I then used the negative (leftover piece of paper from the cut) as a stencil to create my stitched word. With a needle, I poked holes around the word and then stitched it up using black embroidery thread. I also, added the die cut word “my” and some letter stickers to finish off my title.
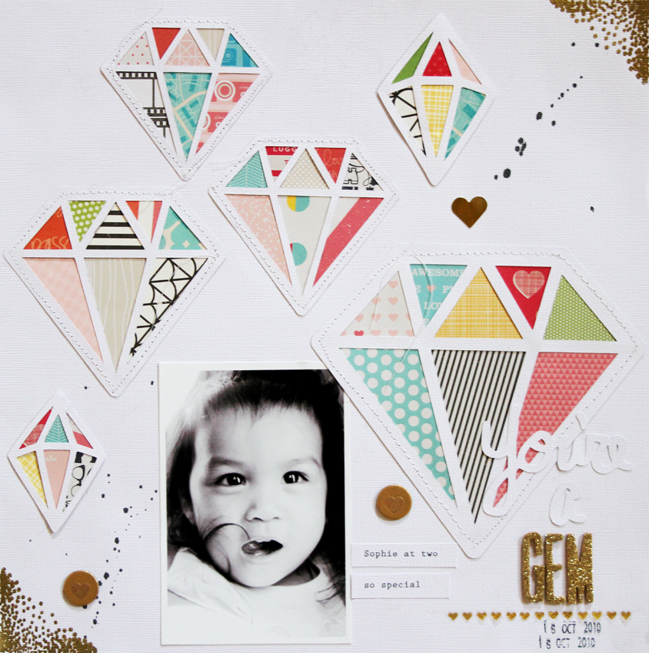
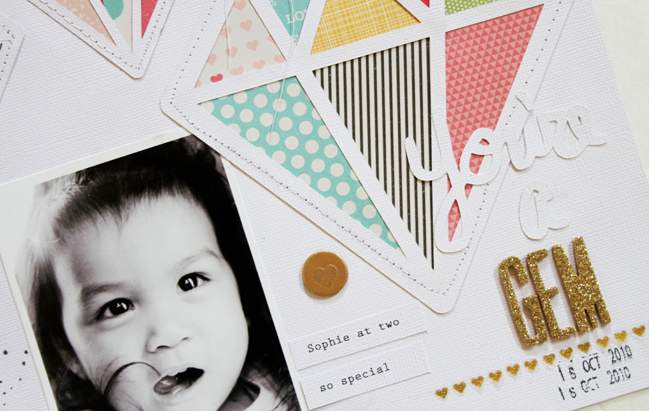
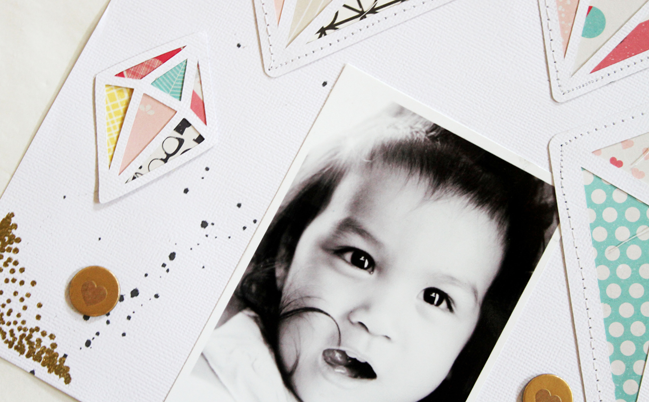
You’re A Gem
I love a simple mixed title. I think that mixing up supplies that you already have on hand can give them a fresh and unique look. To create the title for this page I simply combined die-cuts with Shimelle’s gold glitter thickers. The die cuts are basic but the thickers add interest and texture. The result is a fun mixed title.
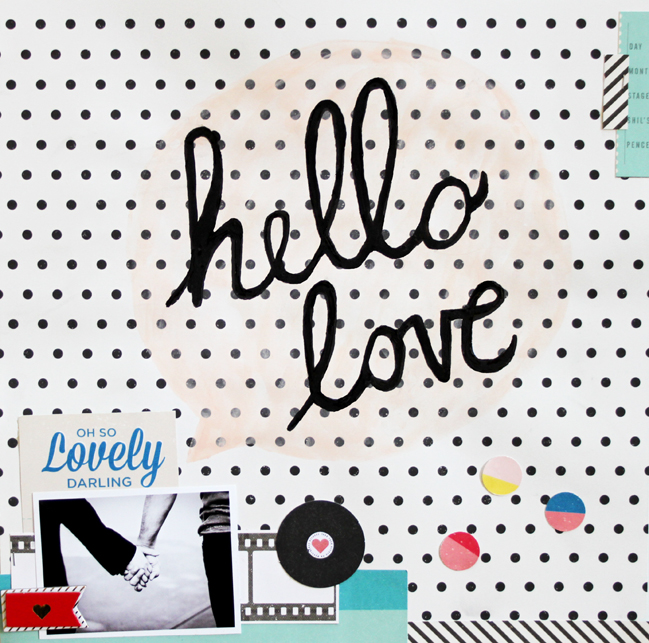
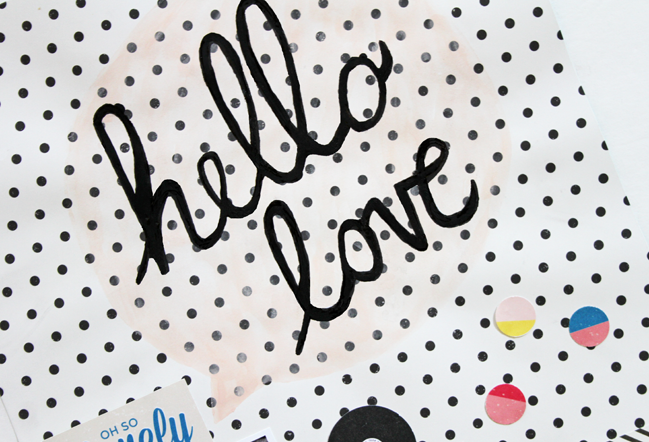
Hello Love
Brush script is a creative way to bring originality into your memory keeping. There is nothing that draws me in to a project more than seeing a unique brush script title. To create my title for this page I first started by hand painting a large quotation bubble onto my page using a light watercolor pink. After my page dried, I hand painted the words “hello love” using black acrylic paint. For best results it is important to use a paint brush that it designed for calligraphy and sketching. To create my title I used a fine tipped size two bamboo paint brush.
| Gina Lideros lives in Northern California with her military husband, two teenage kids and 3 dogs. She loves to spend time outdoors and in her craft room. You will usually find her with a Starbucks cup in hand. Gina designs for American Crafts, Scrapbook Circle, The Cut Shoppe and is the co-owner of BoxCrops Events and Scrapbook Retreats. You can follow Gina on her blog and Instagram. |  |
![]() Read more about:
Read more about:
Next post: Creating Christmas Giftcard Wallets by Madeline Fox
Previous post: Custom Pocket Pages Tutorial with Carrie Elias


