20 Minute Layout:: A Scrapbook Tutorial by Relly Annett-Baker
Do you know how much time I get to scrapbook at the moment? Roughly, 20 minutes around three or four times a week. That is pathetic. It’s so pathetic I might have given up altogether, if I didn’t love it so much. But I do love it, so I’ve found ways to work with it.
It helps that I’m a big believer in managing my calendar and booking myself in, and that you can get pretty much anything done given a 15 minute chunk. I am, you see, not a huge believer in busywork. I like to cut things down right to the bare essentials – what is called the minimum viable product, in product development – and build from there.
In my day job as a content strategist, I help companies and individuals work out how to prioritize creating content for their websites, to keep their business goals ticking over – removing the obstacles that prevent them from committing to a schedule. I applied the same methods to enable me to get back to scrapbooking.
First of all I thought about the ‘blockers’… what stops me from scrapbooking?
1) Organizing supplies. I got pretty ruthless about my amassed collection of pretty stash. I donated almost as much as I kept. I dedicate one of my 15 minute blocks to ordering photos/clearing my desk/checking my essential supplies are full and in the right place.
2) Picking up and putting down layouts. I looked through my layouts and picked out which ones I felt were most successful. Then I noted down what I’d replicate from them. I also watched a video of Shimelles about using a kit from beginning to end and thought about how to get the most out of patterned paper, ink and stickers which are my go-to pieces for layouts. Also, I use Pinterest to save sketches and layouts to refer to.
3) Patterned paper. I had so much patterned paper that I loved to look at but hardly ever cut into. And then I didn’t know what to do with my scraps. So, I took a radical step and it has changed the way I scrapbook. I’m so much faster and happier combining patterns and colours now. Wanna know what it was?
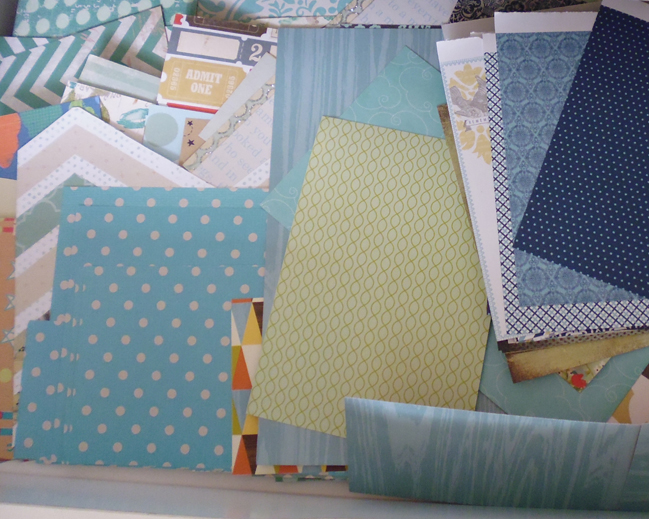
I cut all my patterned paper. All of it. Into a variety of stripes, squares and rectangles. They live in a plan chest, by colour (with some pieces spread out if they have multiple colours), and the ease of mixing patterns and the serendipity of the combinations is now the basis of my super-quick scrapbooking.
Anyway, Here’s how to make a simple layout (I made) in 20 minutes.
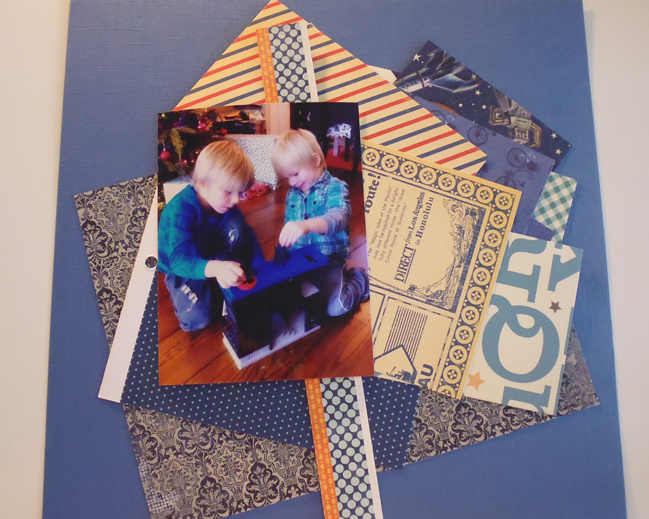
Choose the photo that you want to scrapbook. Mostly I start with a photo, and I usually have a post-it note attached to them of the story I want to tell. The more time I have the more in-depth a story I’ll choose to tell. This was a quick snap on Christmas Day of the boys playing nicely together (as any mother knows, a moment well worth capturing!) that I wanted to document. I went to my colour drawers and picked out two shades of blue, a royal/navy blue and a green-turquoise, that picked out colours in the photo. I decided a contrasting red-orange would also work, so looked for some strips that had that colour too. A piece of cardstock in faded royal blue, and we’re good to go. Try shopping from your scraps basket for this layout to work with what you have and find combinations you’d not have thought of otherwise.
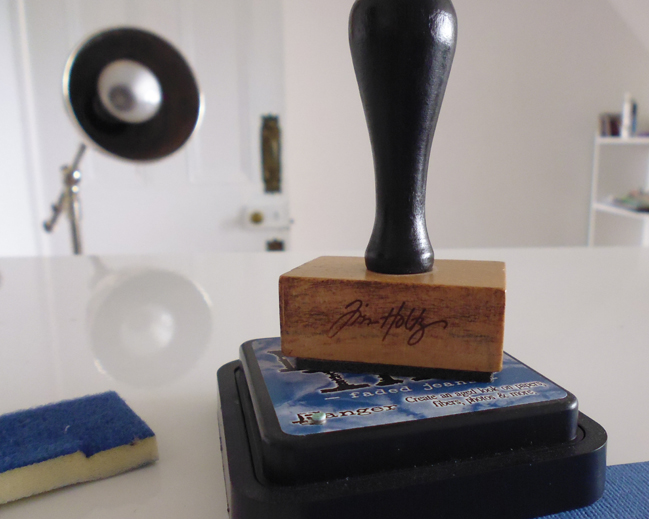
Some quick inking around the pieces with the Tim Holtz sponge tool and some Blue Jeans ink (I use sticky Velcro squares to keep the sponge pieces attached to the ink pads, so they are always there when I need them).
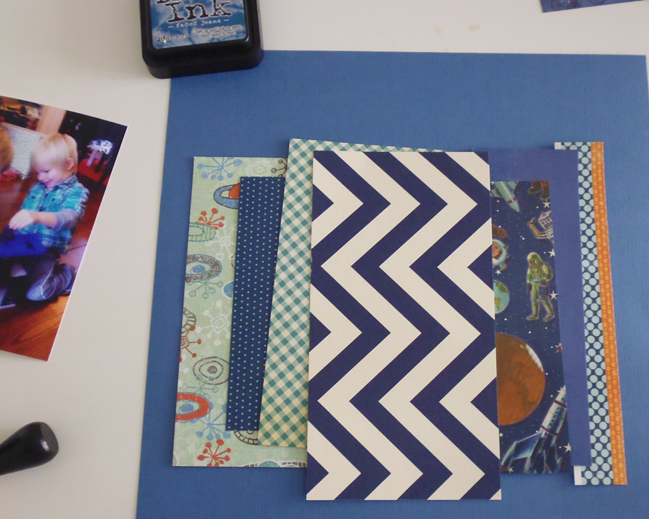
And we’re ready to place. I was using a portrait photo, so I wanted to place the pieces in a vertical style, with some horizontal lines to inter cut the shapes. Do a rough placement to check the patterns worked together. A handy camera phone snap here is good for reference too.
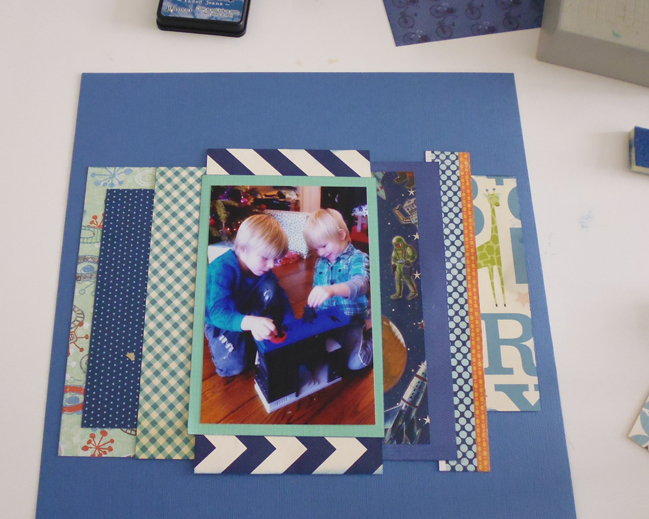
Stick them down, along with a cardstock mount for the photo, leaving good space for title and journaling.
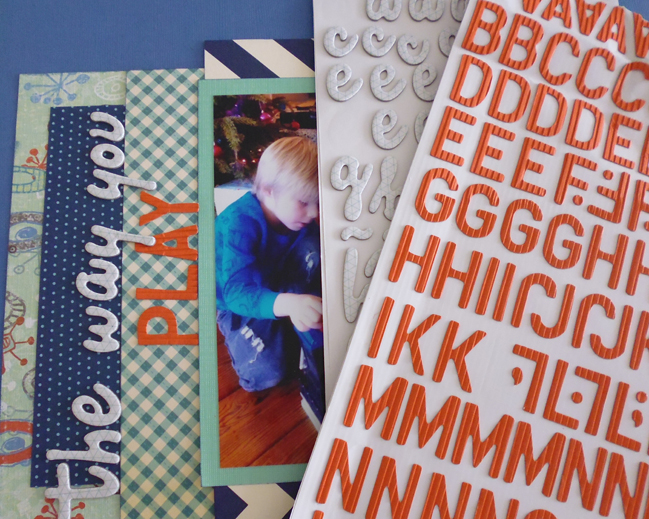
Title time! I deliberately placed some straight lines on the left, knowing that’s where I wanted my title. I picked out some Amy Tangerine thickers for a colour contrast, dimension and texture. Again, try working with what you have to hand – mix and match can be a great way to use up alphabet sheets.
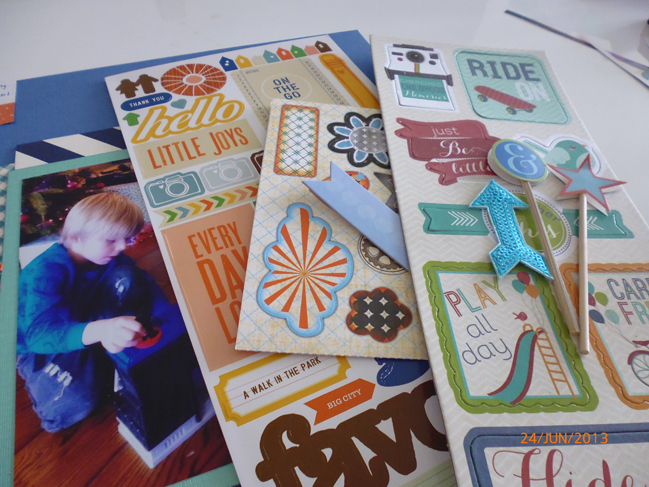
Next, gather up some stickers and embellishment, and draft your journaling. I found a journaling card from my collection to cut up. The orange provided a great horizontal colour pop and focused the eye on the photo.
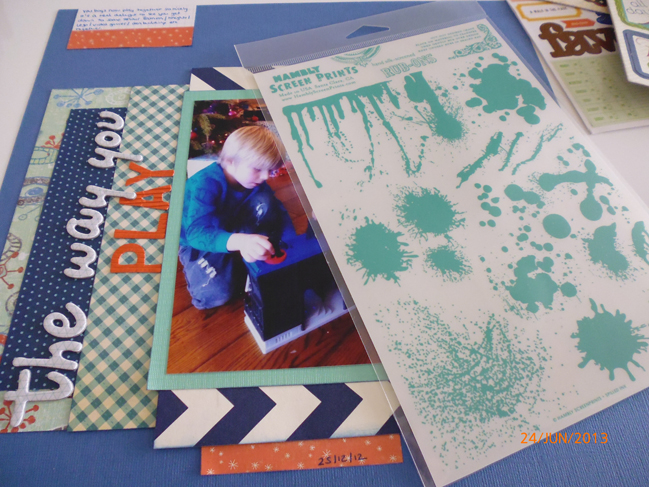
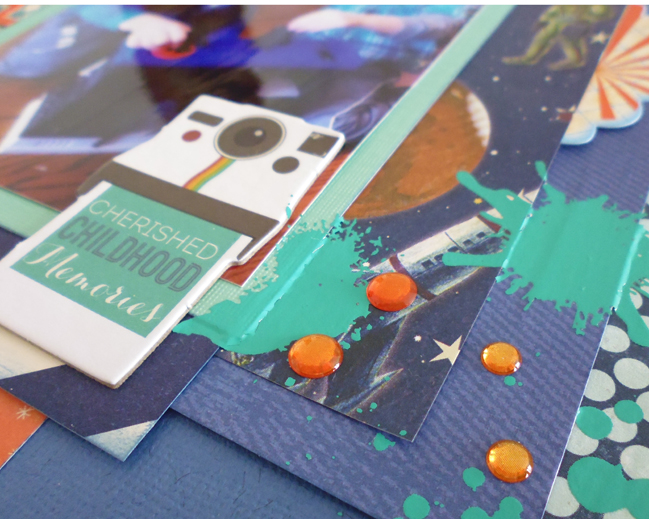
Go for bonus marks in your remaining minutes. I try and use something I have either been saving or overlooked on each quick layout. Sometimes they become the focus of the layout as the main embellishment. Here I knew I wanted to use this aqua ink blot Hambly rub-on, that I’d had sat in my ‘must use or donate’ pile for a while.
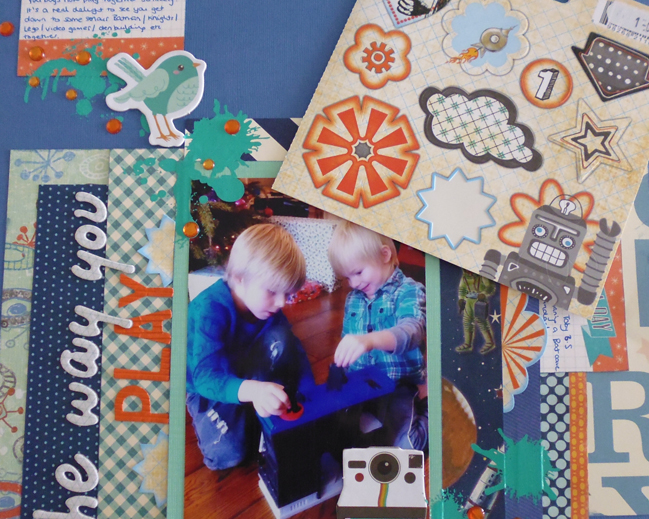
Create your finishing touches. I had some great chipboard pieces and stickers that I thought would work well. I decided a diagonal embellishment design would pull together the ink blots so that it looked less like an accident with a leaky pen, contrasted with some shiny orange gem drops, and the stickers add some extra layers sliced and interspersed with the paper layers.
The time saving elements here – chopping up patterned paper ahead of time, keeping embellishments to a minimum, and having elements like journalling cards and stickers do double duty – are things I do all the time to try and prevent myself from getting lost in all the possibilities of what I could be scrapping and keep me focused on what I am scrapping.
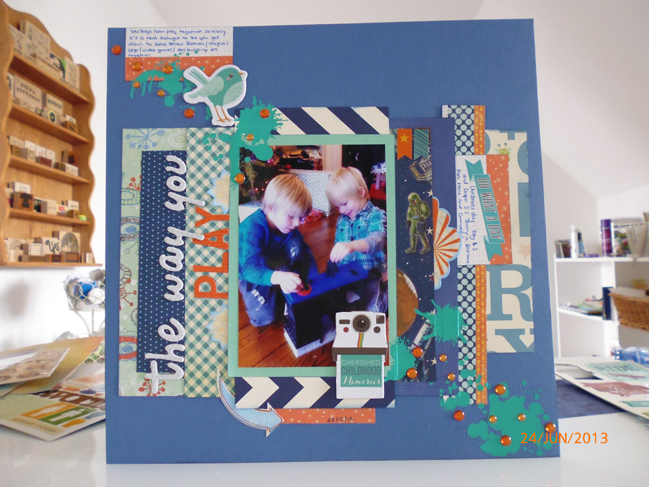
I stopped the clock at 19 minutes and 47 seconds. Can you beat me?
| Relly Annett-Baker is a content strategist, wife, and mother to two small boys. She likes making things with paper but unfortunately it is usually spreadsheets. She blogs sporadically and teaches online classes about creating web content at Rel.ly. She tweets enthusiastically, with much CAPSLOCK and swears, as RellyAB.
Her next class, 30 days to done, is to help all (and future) bloggers, site owners and Etsy store keepers get their content in order. It starts July 1st. More at 30 days. |  |
BONUS Relly has a place on her 30 Days to Done online course to give to one of you. Also, she likes Hello Kitty. Leave a comment on this post that includes the magic phrase ‘Hello Kitty’ and Relly will pick a commenter to win the class for free. (And you don’t need to wait if you want to sign up – your class fee will be refunded if you win!) Good luck!
![]() Read more about:
Read more about:
Next post: Best of Both Worlds :: My scrapbooking product picks for July 2013
Previous post: Sketch to Scrapbook Page :: Mixing 'proper' photos and phone photos


