Confetti Pockets:: A Scrapbook Tutorial by Stephanie Bryan
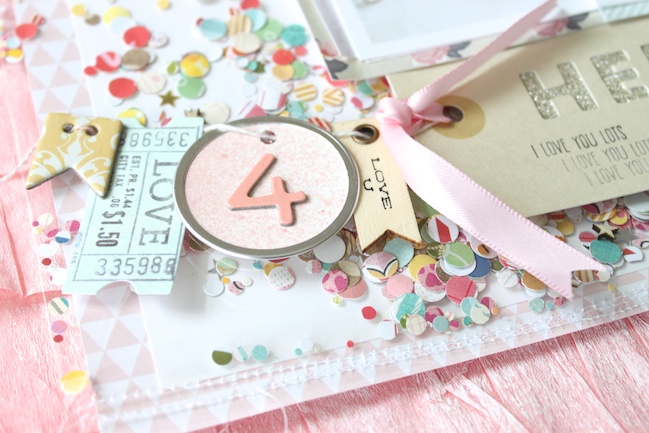
I love to include confetti on my layouts and in my Project Life spreads. I think it adds a lot of fun and color to any project. Today I will show you how to create a confetti pocket to use as a background element for your layout.
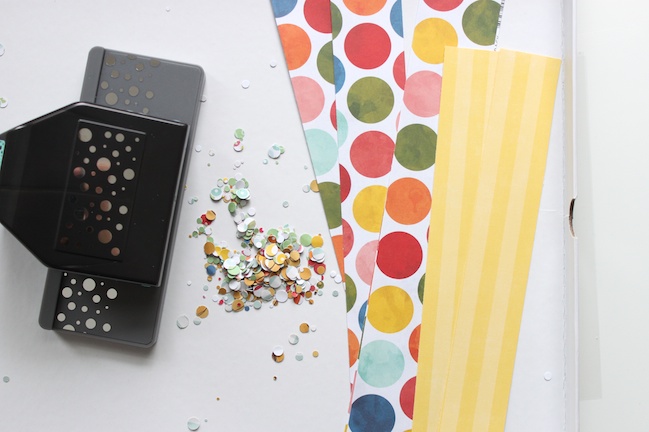
First, start by punching out your confetti using a hole puncher. I love using the Swiss Cheese punch from EK success but you can use a regular hole punch or even a three hole punch if you have those available.
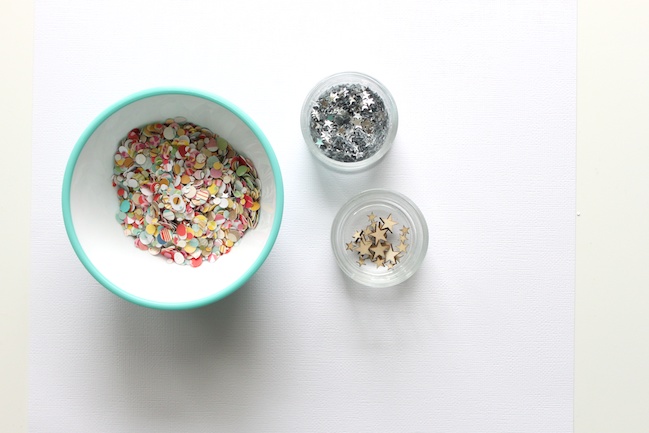
If you like, you could add wood veneer stars and/or some silver star confetti to your punched holes to create some sparkle and dimension in your confetti pocket.
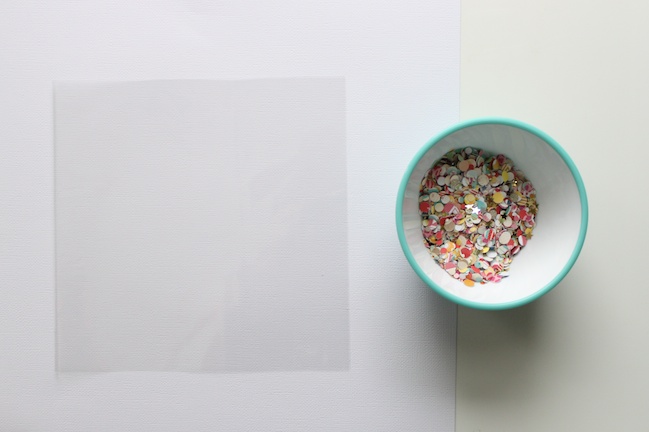
Next, trim down a piece of cellophane or plastic packaging to the size of your liking. I like to use the plastic packaging from speciality papers or thickers for my confetti pockets. For my page, I knew I wanted my pocket to be the main focus on my 12 × 12 paper so I cut my piece of plastic packaging down to 7 × 7 inches.
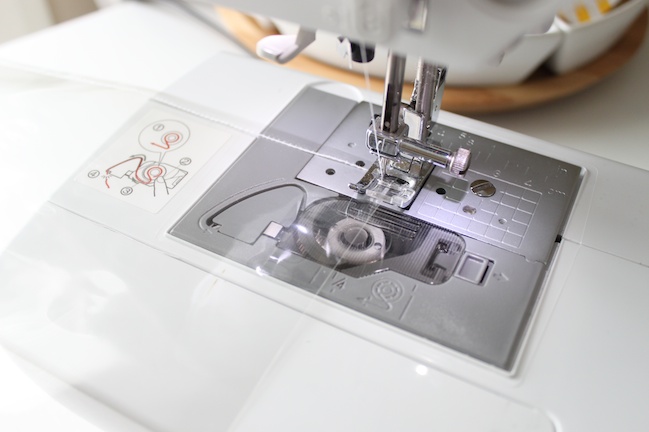
Now, sew your packaging along three sides leaving one side open to add your confetti. I recommend using a stitch length of about 3.0-3.5. A smaller stitch length could possibly perforate the plastic, which would eventually end up tearing at your stitch line. If you don’t have a sewing machine, washi tape is a great substitute!
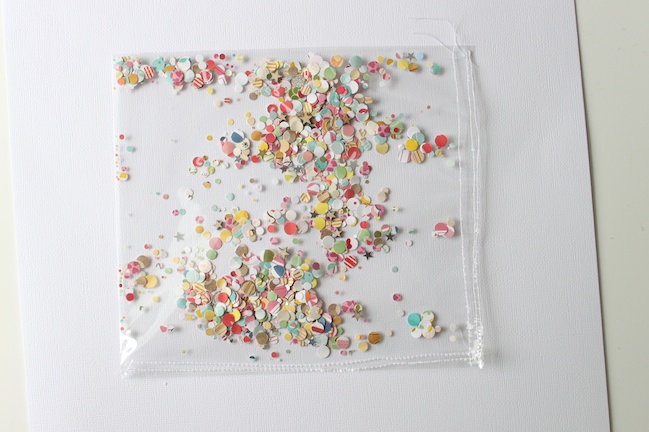
After three sides of your pocket are closed, add your confetti into your pocket and sew along the remaining open side. Then, just to be safe, sew around the entire pocket again to ensure your pocket is completely closed.
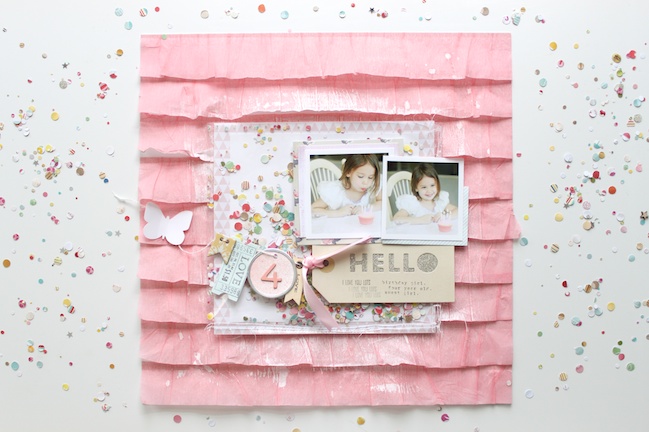
Finish off your layout with your paper layers and embellishments. Since I wanted to use this pink Dear Lizzy ruffled paper as my background, I decided to layer my confetti pocket onto a piece of white card stock framed with some patterned paper to help it pop off the page. I added two small photos layered onto a die cut tag, as well as a simple banner to complete my layout.
If you do not want to make such a large pocket, you can create a smaller pocket to use as an accent on your page or in your Project Life album
| Stephanie lives in North Carolina with her husband and two children. She loves all things creative and has a slight obsession with paper and photography. She started out with memory keeping through Project Life in 2011 and has not looked back yet. Her style is simple, but classic with occasional fun pops of color. As of January this year, she has found a love of recording memories through traditional scrapbooking. Stephanie currently serves on the Design Teams for Glitz Design, Chic Tags, Color Combos Galore and Little Black Dress Kit club. She shares her adventures in scrapbooking and Project Life on her blog at stephanie makes and through Instagram |  |
![]() Read more about:
Read more about:
Next post: Five Pretty Ways to use Washi Tape by Azumi Izuno
Previous post: Coming soon: a scrapbooking masterclass


