Five Pretty Ways to use Washi Tape by Azumi Izuno
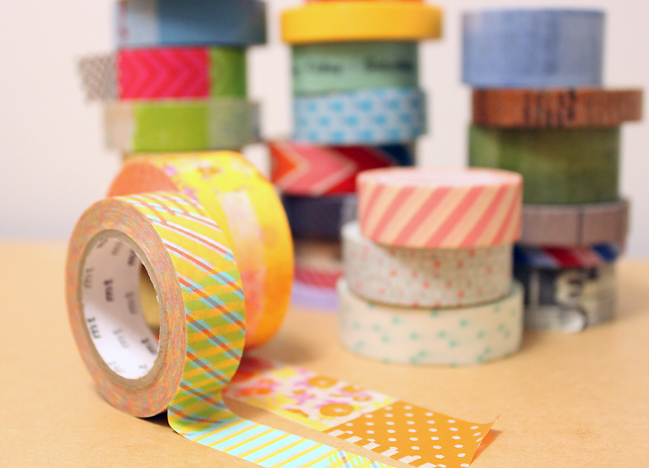
Today I’m excited to share a post from a little further afield than usual – talented scrapbooker Azumi Izuno from Japan is here to share her favourite ways to use washi tape! I hope you enjoy.
Do you own any rolls of fancy washi tape? Where I live, washi tapes are called masking tape, and the product is widely known as a tape for DIY projects, a helper for paintings, and a temporary adhesive. But over the last five years, washi tapes have become all the range for their new colourful designs and patterns, making them a great material for crafting with style.
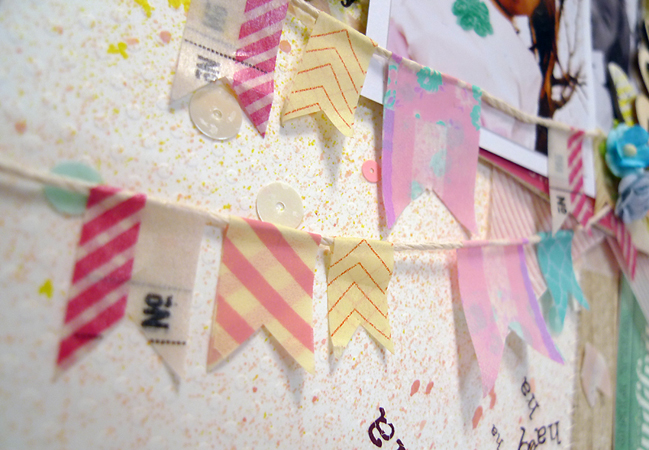
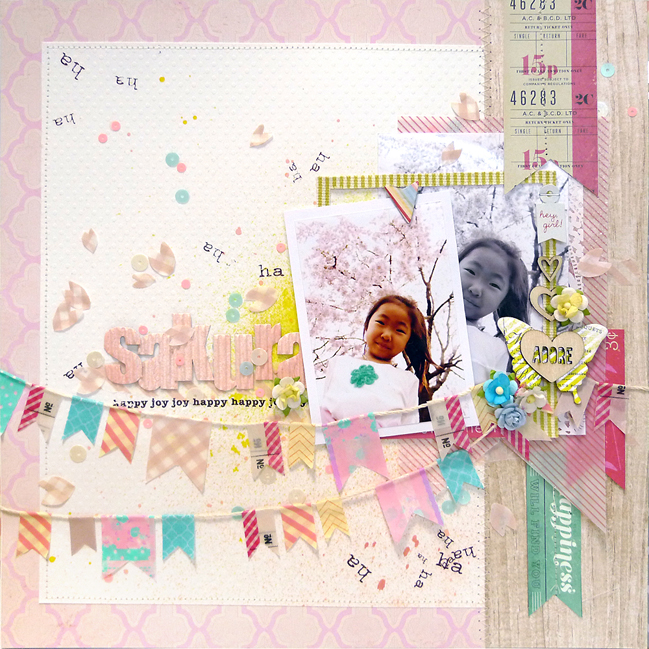
Make it a Banner
Cut twine to the length for your banner, then place washi tape strips over the twine and fold them in half to create little flags, with no adhesive left to show. Cut the ends as you like – with pennant triangles, on an angle, or with pinked edges perhaps. As washi tapes are mostly pale you can create see-through effect.
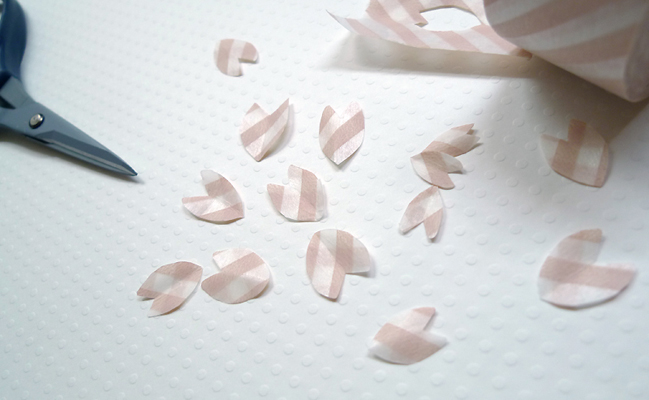
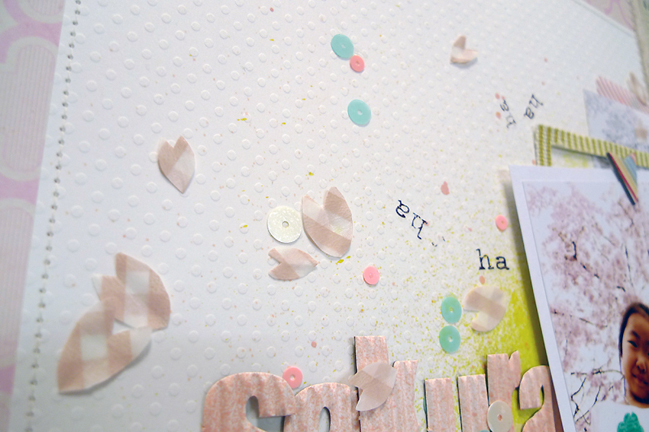
Make an explosion of flower petals
Fold a strip of washi tape over on itself, adhering both sticky sides. This makes the washi tape like a piece of paper. You can easily cut with your scissors in the shape you would like – and flower petals were perfect for these photos with the trees in bloom. Unlike real paper it will give much softer image, particularly with tapes in pale pastel colours.
Layer with patterned paper
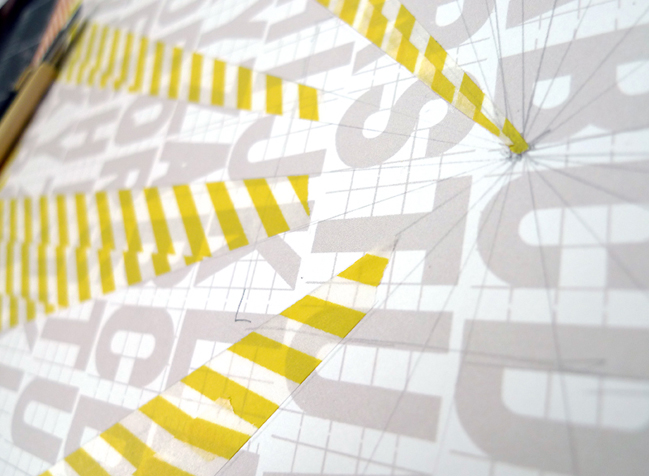
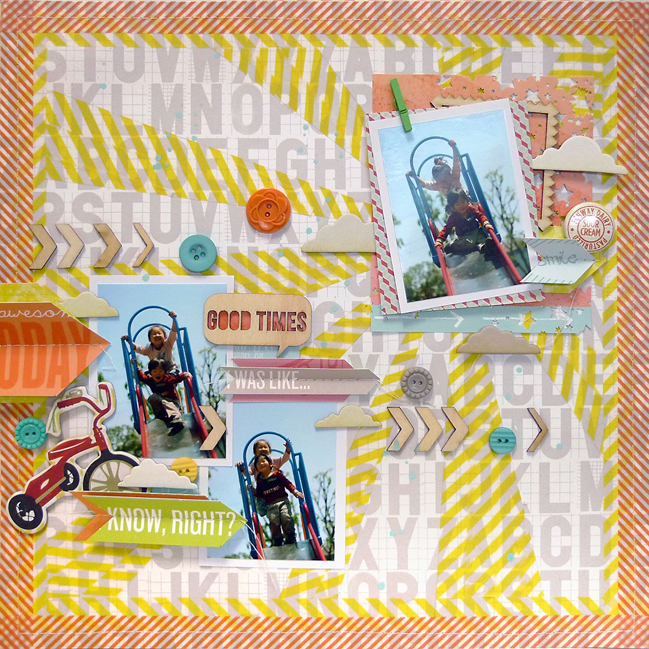
Washi tape takes on a new look when layered over patterned paper; its see-through-ness makes this special effect. The trick to this technique is a craft knife. Use a pencil and ruler (or a template like this mask) to draw your design, such as a starburst. Cover the desired spaces with washi tape: don’t overlap the tape on top of itself, place it side by side with no gaps between the seams. This will mean there is extra tape hanging over the edge of the pencilled design. Take your craft knife and your ruler and use a very light touch to cut through just the tape, leaving the patterned paper background intact. Then peel up the excess tape. Washi’s unique adhesive quality lets you remove it from your page without tearing the paper, so it’s useful for this technique and also helps if you make a mistake with washi on any page.
Punch out perfect circles
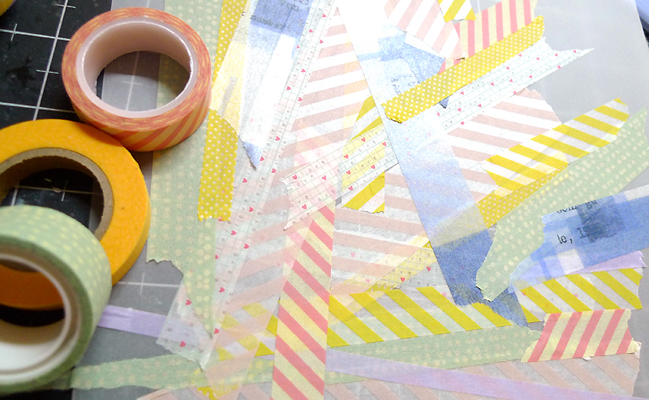
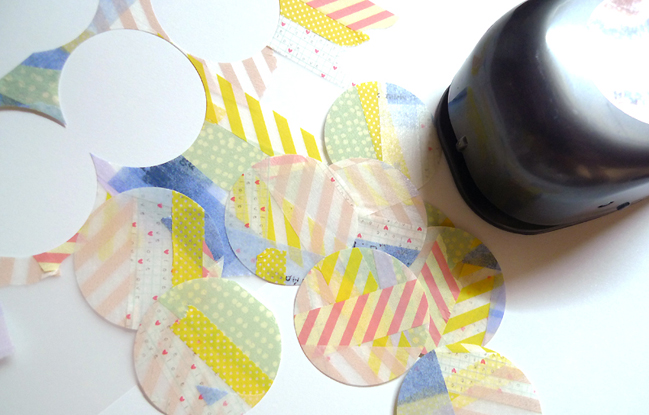
Gather a group of different washi tapes you like. Tear off strips and adhere them to a sheet of vellum, trying different angles and combinations of tape to create different patterns. If you don’t like how one tape looks, you can always remove it and try another. Then use a circle punch or die to cut perfect circles from all those layered tapes to make a great embellishment you can use to dress up a page.
Build a background
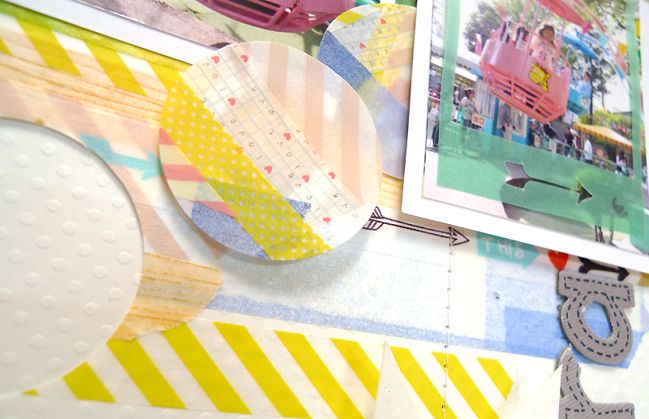
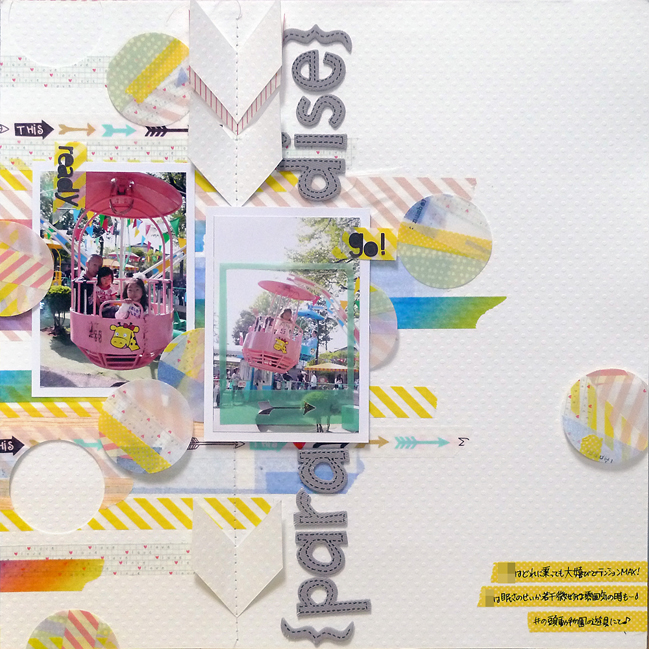
Instead of building your background with patterned paper, start with white cardstock and add plenty of strips of tape to the page. Then design your page just as you would had the background been made from patterned paper. You can also include your journaling on strips of washi tape: test out your pens on scrap paper first, but there are plenty of permanent pens that will write on the tapes.
| Azumi Izuno lives in Yokohama, Japan with her two kids and loving husband. She spends such fun-filled busy days but she finds it so relaxing when she takes pictures of her family. Her favourite embellishments for scrapbooking includes those washi tapes and something that are made with translucent materials. Find more of Azumi’s work on her blog, Forever Blue. |  |
![]() Read more about:
Read more about:
Next post: Best of Both Worlds :: My scrapbooking product picks for June 2013
Previous post: Confetti Pockets:: A Scrapbook Tutorial by Stephanie Bryan


