Scrapbooking with Spray Inks and Mists

A few of you may remember the days when flowers for scrapbook pages came in glass milk jars by colour. And that buying such an item then gave scrapbookers a compulsion to buy every other milk jar of coloured flowers available and stack them up in rainbow order on the shelf, creating something that was gorgeous – but possibly destroyed your decor if you actually used half a bottle of the flowers on a project. I didn’t ever feel the need to collect every jar of flowers, but I can tell you I now understand the phenomenon, because as much as one side of my mind tells me I don’t need every single shade of yellow under the sun and one or two will do nicely, I tend to look at this page of mists and sprays and think it could be oh-so-pretty to have them all! So far I have remained only slightly more practical and have a cake stand filled with mists of quite the assortment of colours and shades, but I do fall in love with a new colour very easily!

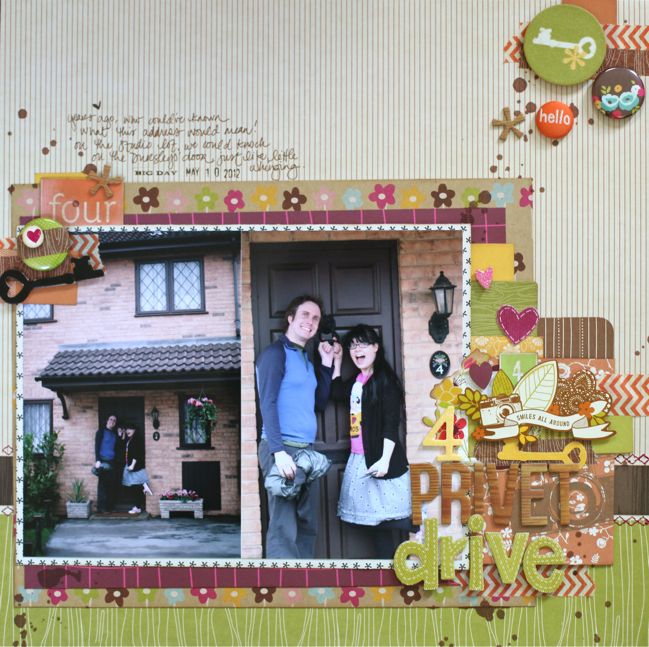
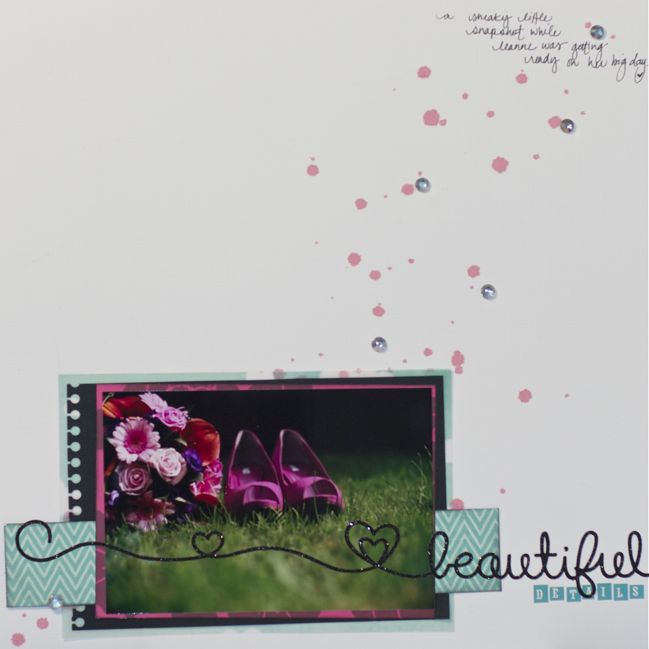
I do use my mists often but I use so little at a time that they last pretty much forever. I love spray ink as simple droplets to add to a design, adding either a little or a lot to the space of the page.
One of Glitter Girl’s earliest adventures was to demystify scrapbooking mists! This video includes both her notes on comparing different brands and a project from start to finish. (See this page for further details from this Glitter Girl Adventure.)
And now for our guest artist, Céline Navarro, who does way more than just a droplet or a spray here or there!

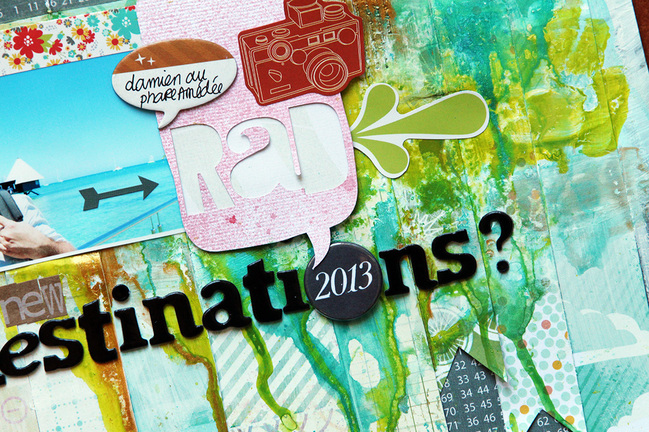
For this layout, I started like a ‘regular’ no-mist layout: I cut some stripes of papers, turned them into pennants and glued them on my patterned paper. I then wondered how I could add a little pop of colors on this background. Even if the patterned papers I used are very colorful, I wanted something more… artsy. My only concern was that, if I used mists directly on the paper, they won’t be seen as the paper would soak in the ink. So I decided to apply a thin layer of gesso on my paper pennants, and let it dry (you can use a heat gun if you’re as patient as I am). Then, I sprayed some water on the gesso – don’t worry about doing that! The gesso, when dry, is like a thin layer of plastic, so the water won’t get through the paper.
After the water, add some different mists here and there, move your background around and use your heat gun to dry them right away. If you don’t like the result, simply grab a paper towel and get rid of the color before it dries!
There you go! Your background is ready! Wasn’t it fun? Then you can embellish in the style you want.

About the Artist
French scrapbooker and mixed-media artist Céline Navarro keeps busy with plenty of crafty jobs, like designing for Studio Calico and Two Peas in a Bucket. You can find more of her work on her website, celinenavarro.com or see Celine’s passion for print at Entreartistes Magazine.
Your third challenge is to use mist! Entries close at the end of next Sunday, the 12th of May. Please check back on the 14th of May to see if you have won a prize.
![]() Read more about: inspiration-party
Read more about: inspiration-party
Next post: An easy & effective way to write your scrapbook journaling
Previous post: Scrapbooking with 4x6 photos


