Using a Polaroid frame stamp on a scrapbook page
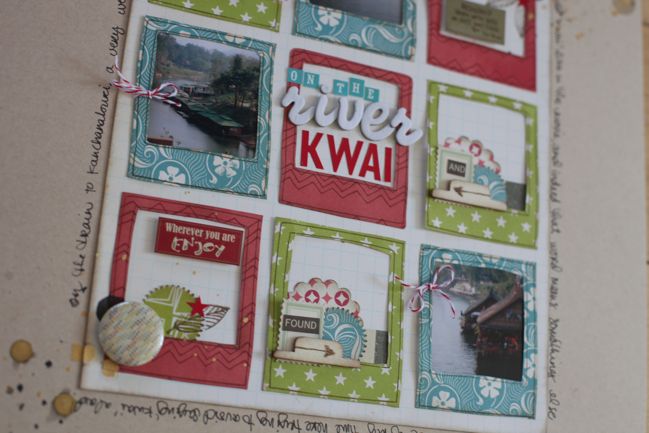
Oh, how I love it when inspiration comes along at just the right time. That beautiful scrapbook page tutorial by Kirsty Smith went live at just the same time when the Dear Lizzy 5th & Frolic stamps were sitting on my desk. I’d been using the word stamps in that set a lot more than the image stamps in this set, so Kirsty’s page quickly reminded me how easy it would be to make something lovely with the Polaroid-style frame. I put it together with a sheet of kraft cardstock and scraps from my February Best of Both Worlds kit.
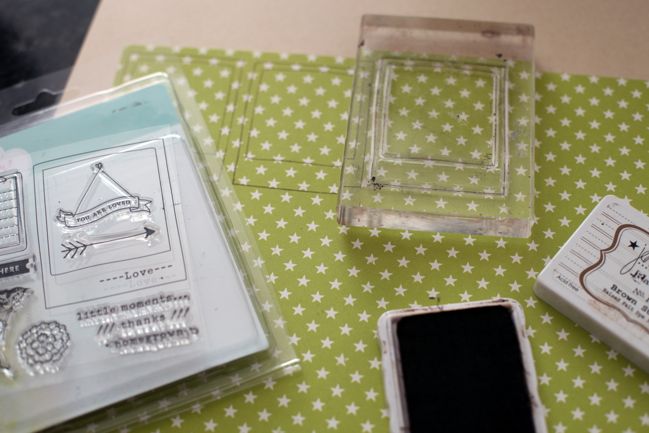
First I stamped the Polaroid frame in brown dye ink…
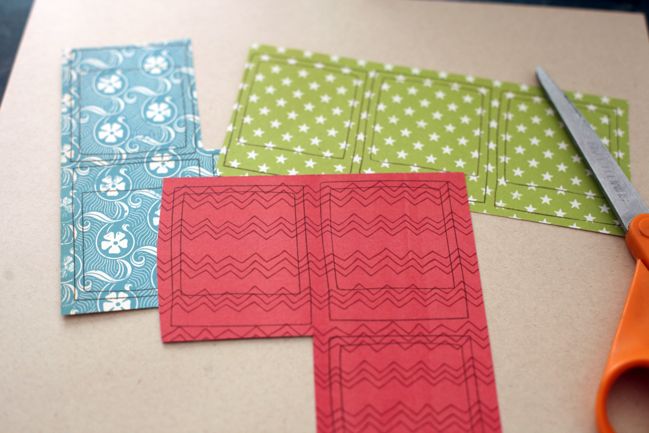
…three times on each of three patterned papers, for a total of nine frames.
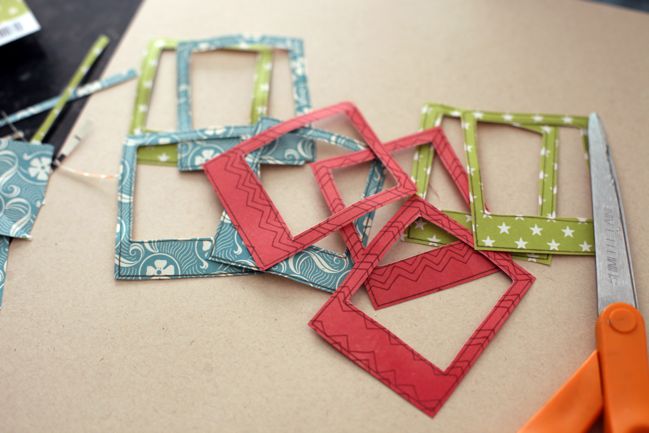
Then cut out all those frames with scissors. Easy enough.
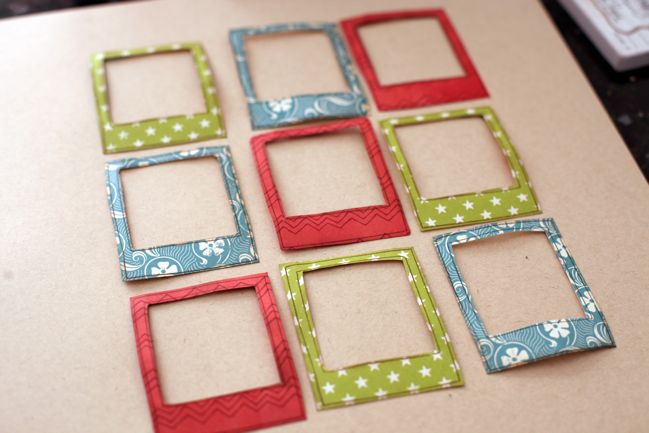
Spend twenty minutes moving the patterns around in a grid until finally settling on this arrangement. Then spend the next twenty minutes wondering why that took twenty minutes to decide. This is a slippery slope.
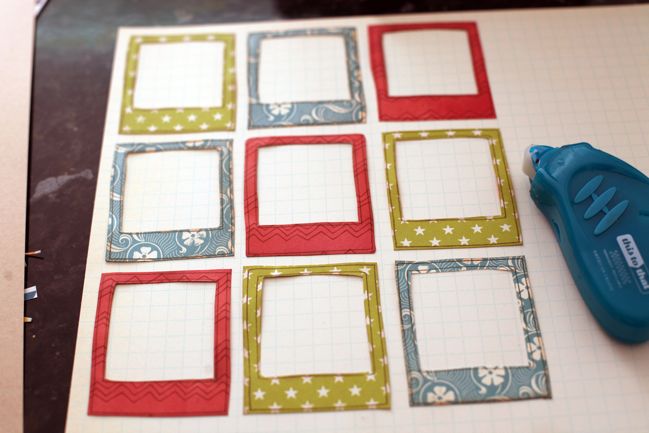
Transfer the frames – in that much pondered order – to a sheet of neutral patterned paper. Kirsty’s pages often remind me to use all that grid paper in stash. Attach with adhesive that allows for things to be moved about – or just be way more graceful than I am and not knock the frames onto the floor six times while you’re trying to figure out the rest of the design. Your choice.
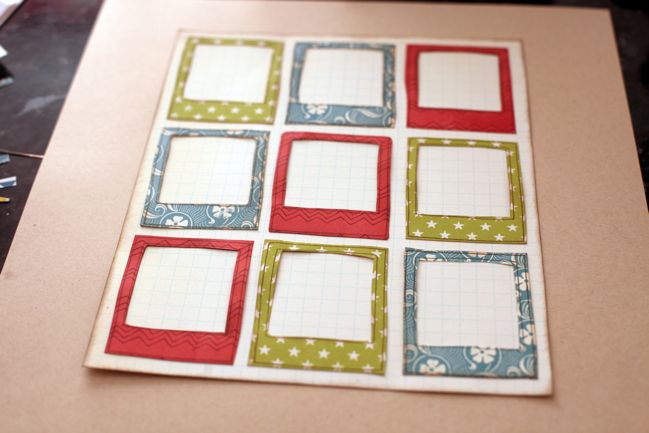
Cut the grid paper to frame the frames, ink the edges, and attach it to the centre of the kraft cardstock background. Exhale happily that this step had significantly fewer opportunities to derail for another twenty minutes.
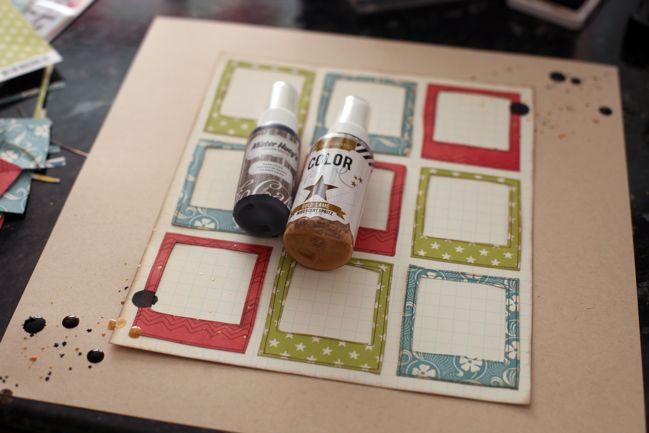
Use the spray tube and an eye dropper to splatter mist on two corners of the page to form a diagonal line. I used gold lame color shine spray by Heidi Swapp and Studio Calico Mister Huey’s spray in Dark Calico (that one is on sale at the moment if you’re looking for a dark neutral shade, by the way). Be completely impatient and refuse to wait for the larger droplets to dry, and enjoy the feeling of living dangerously throughout the rest of the creative process as a result.
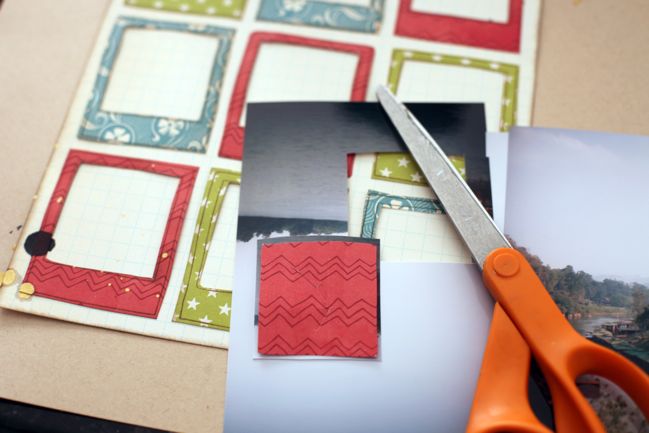
Use the scraps from cutting out the centre of the stamped frames to cut three photographs to a size that will sit nicely behind three frames. I picked photos that had some nice details that were otherwise lost in a larger image when printed at 4×6.
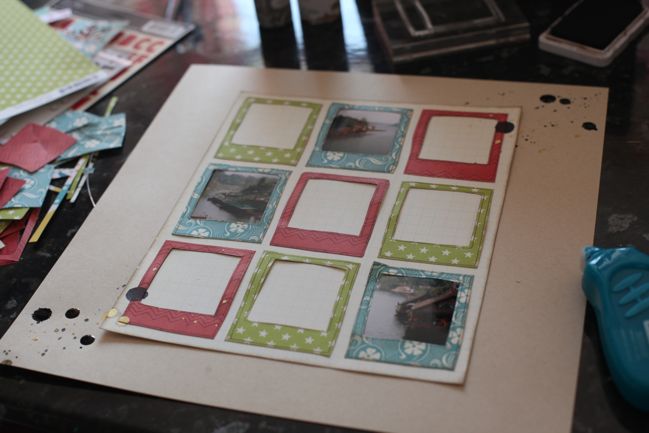
Realise it might be simplest to make all the red frames match, all the green frames match, and all the turquoise frame match. Spend another twenty minutes deciding which colour would be best for the photographs. Eventually choose turquoise. Live the rest of my entire life wondering if this was the right decision.
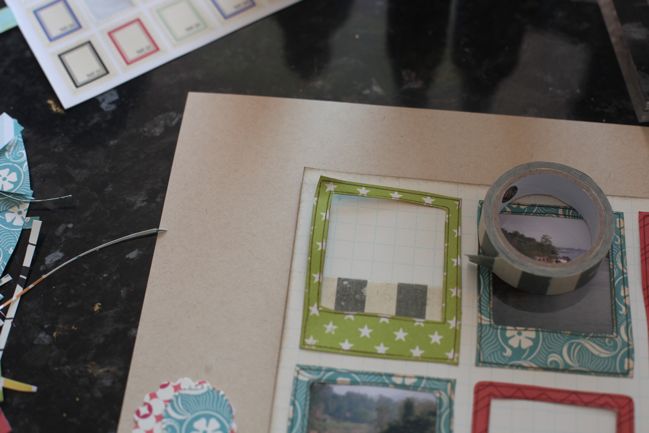
Start the green frames with a stripe of tape inside the window.
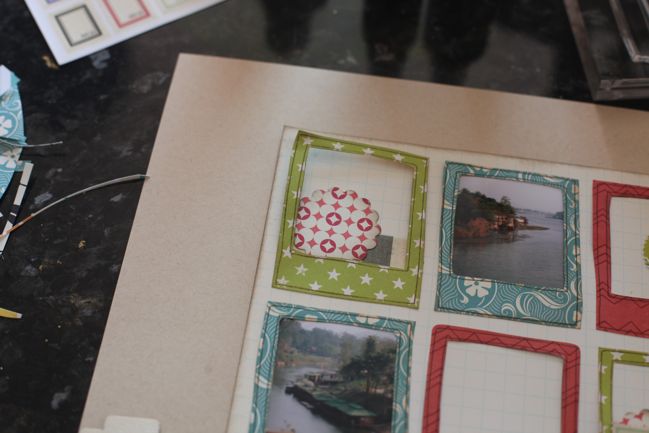
Then a punched circle in the corner…
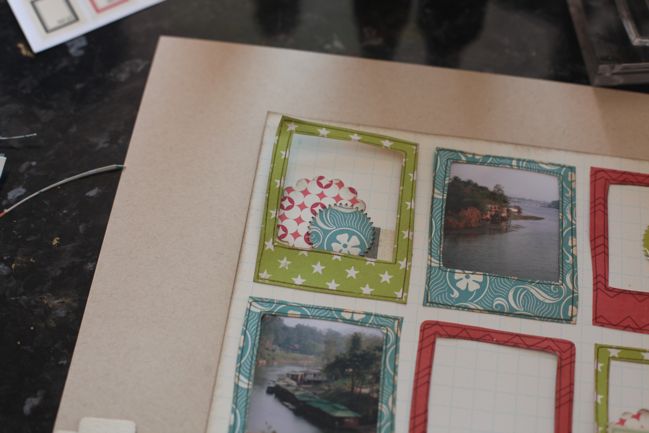
…and a smaller punched circle over the top. Feel like I just won house points for Hufflepuff by managing to get all three patterned paper colours into this embellishment grouping.
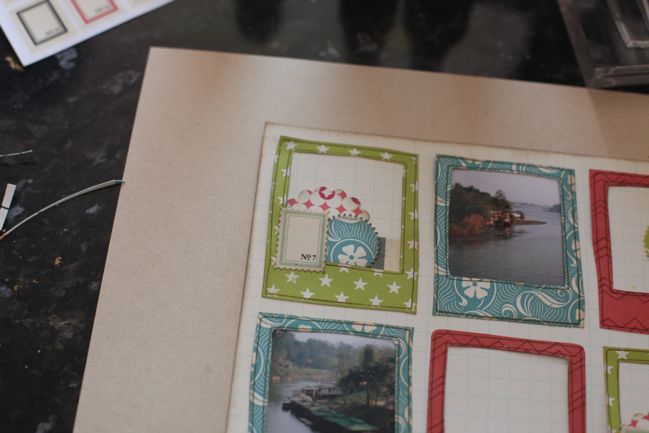
Top with a postage stamp sticker from Jenni Bowlin Studio.
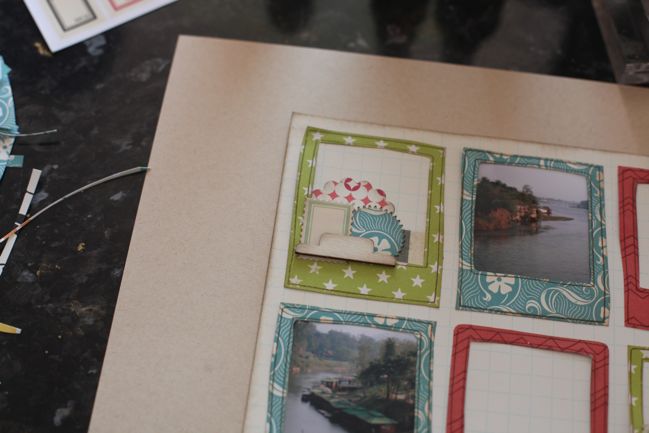
Add dimension with a wood veneer file tab by Studio Calico.
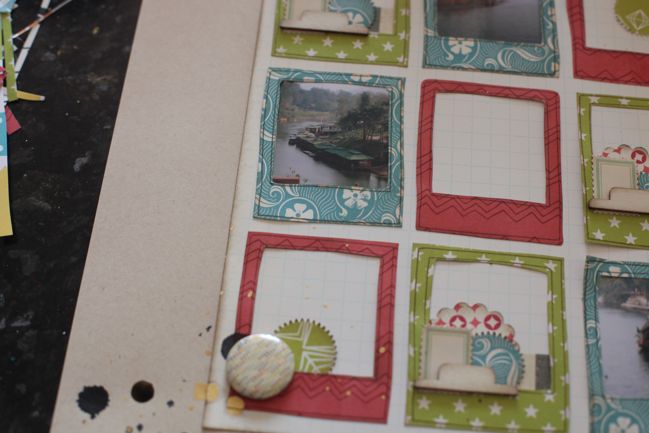
Realise the red frames are now looking very naked by comparison. On the two corner frames, add a punched circle and a Studio Calico badge embellishment. Ten points to Hufflepuff for the group of three formed by the circle shapes in the punched piece, the badge, and the closest large droplet of ink, all overlapped.
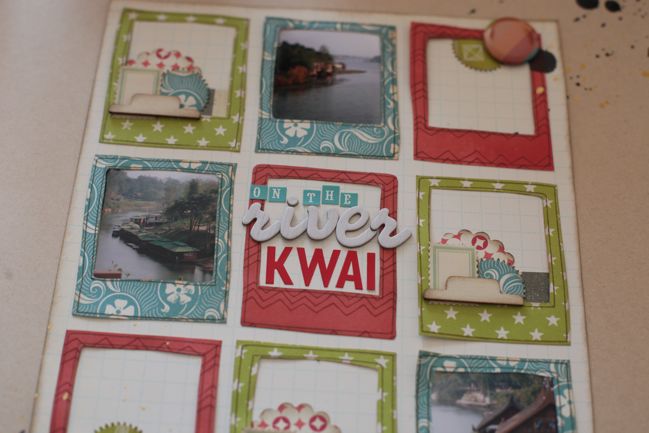
Title gets the centre square. The white woodgrain Thickers and the red Jenni Bowlin letters are both from the kit, plus those tiny turquoise letter stickers are an older set in my stash by Cosmo Cricket. Congratulate self that ‘Kwai’ fits so perfectly in the frame, since I didn’t think to check that before this step.
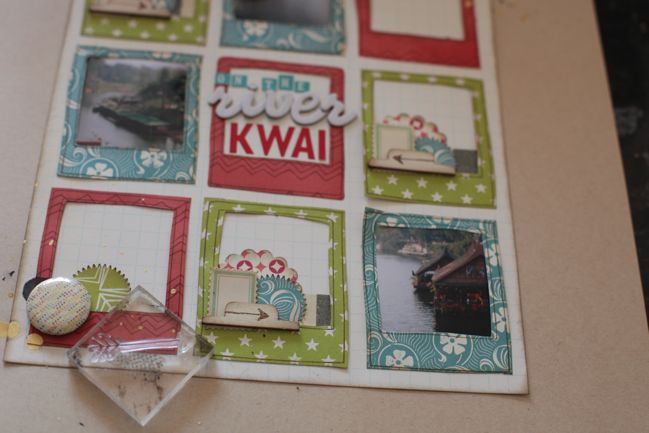
Use the arrow stamp in brown ink on top of the wood veneer tabs, mostly because I’ve fallen in love with the look of stamped veneer. Point the arrows toward the nearest photo to help direct the eye to the photos, which is extra helpful with the combination of small photos and plenty of embellishment.
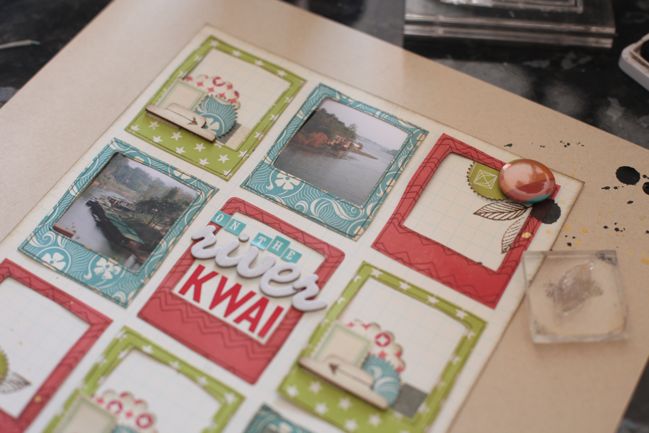
Add some leaf stamps to the corners of the two red frames.
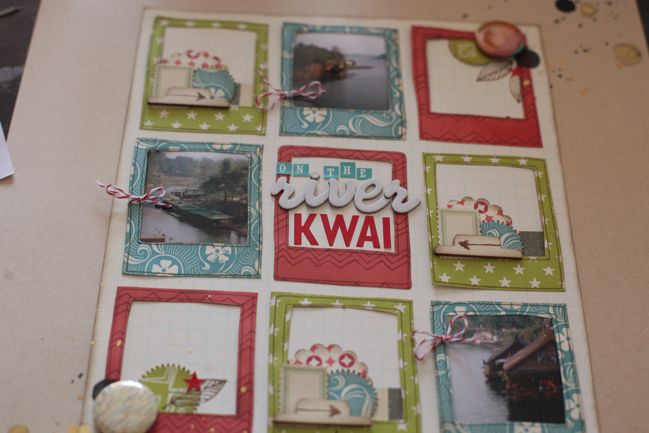
And some little red star stickers too. Then I noticed the turquoise frames started to feel too plain, so I added red baker’s twine to the edges. Award ten points to whatever house baker’s twine belongs to for its amazing ability to be a perfect little detail on pretty much anything.
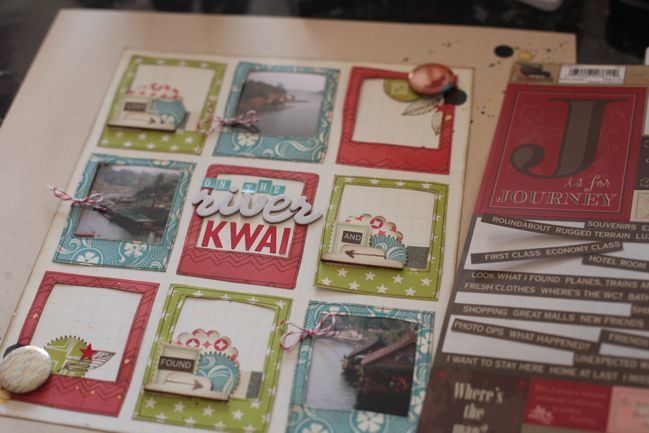
At this point, I headed to my ‘use it or lose it’ box. I constantly go through supplies and try to clear out the things I will not use. Sometimes I end up with items that I still like but they are old enough that I haven’t been using them as much and I need a little push to grow up and choose a side: use them or lose them. I write a deadline somewhere on the product and whatever I don’t use by that date heads to the donation box. Right now there are a few sheets of these 7gypsies stickers, which are fab for cutting into little word blocks…
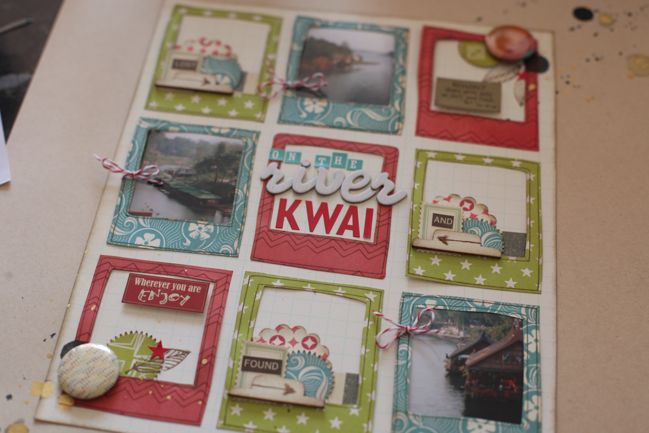
…and also has a few labels with phrases that will fit this page.
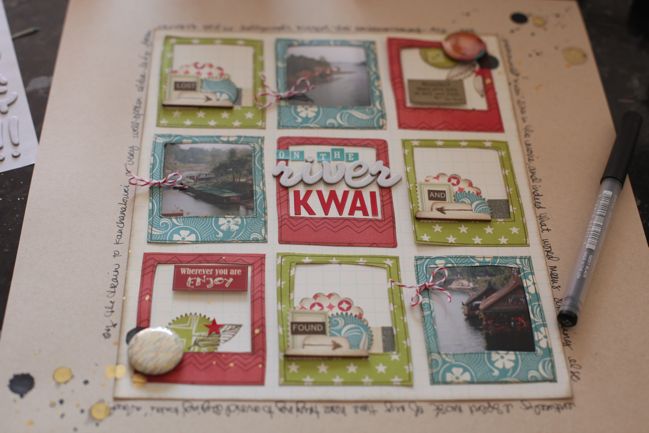
Then finish with writing around the grid paper, and make a serious note to self that Kirsty’s layered page idea would allow for significantly more writing than this.
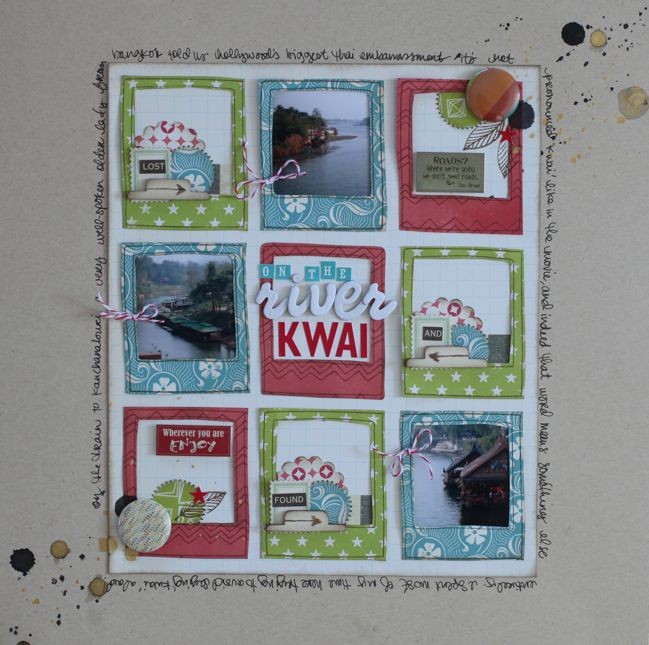
Award Kirsty at least fifty house points for her inspiration that lead to this new page whilst feeling a sudden urge to go through my entire basket of scrap papers and stamp them all with Polaroid frames.
Decide that would take way, way too long.
![]() Read more about: best-of-both-worlds-kit tutorials
Read more about: best-of-both-worlds-kit tutorials
Next post: Using Handmade Frames on your Scrapbook Layouts by Mandy Koeppen
Previous post: Two Sides to Every Story: a Scrapbook Tutorial by Kirsty Smith


