Afternoon Craft Project :: Easy Quilted T-Shirt or Onesie

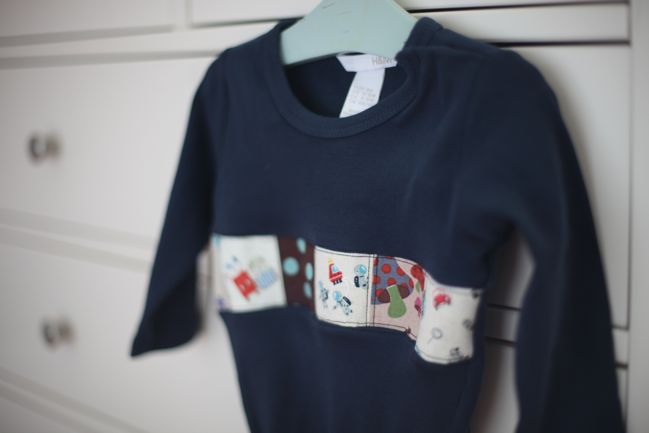
I have to admit I am really superstitious when it comes to baby presents, and making them or buying them or giving them too early just makes me extra nervous. Just one of those things. So with new nephew all arrived and fine and healthy and happy (yay!), I decided to have a bit of a crafty afternoon with a baby theme, including this quick and easy customisation of a onesie or babygro or whatever you prefer to call such a one-piece-garment-for-infants. For the record, spellcheck likes neither onesie nor babygro. Spellcheck is much happier with t-shirt, and should you like this idea but not have an infant available as your crafting muse, you can use the same steps to alter a t-shirt for yourself. So I figured I’d share a little how-to for this easy sewing project.
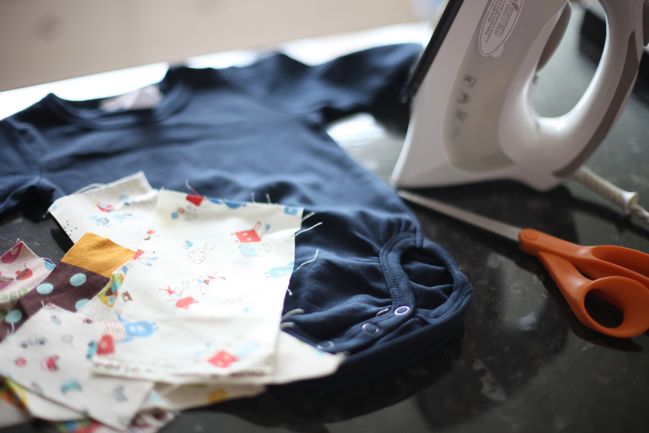
You will need the item you want to customise (onesie/babygro, t-shirt, etc), a handful of fabric scraps (soft fabrics are good), scissors and an iron. You’ll also need a sewing machine and thread, and a seam ripper and ruler may be helpful. If your fabrics are creased, be sure to iron everything before you start.
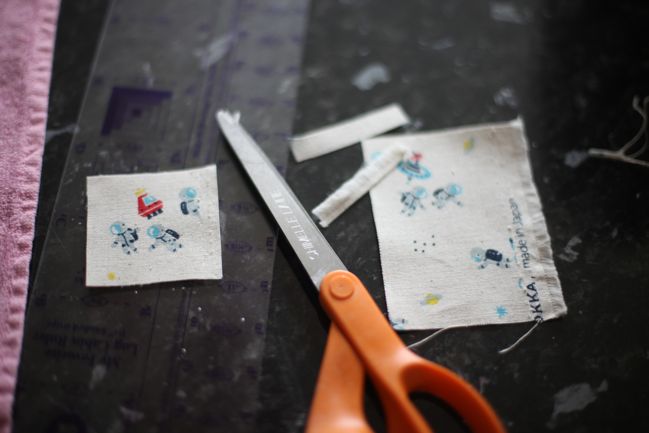
Start by cutting your fabrics to size. I am not big on measuring, so I just cut one to suit the pattern…
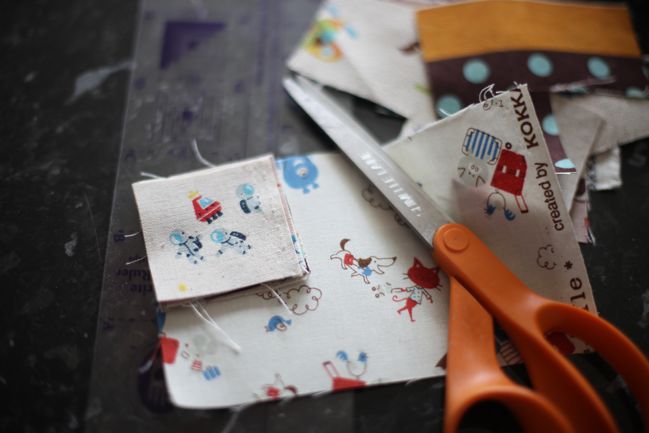
…then use it as a template to cut all the other pieces.
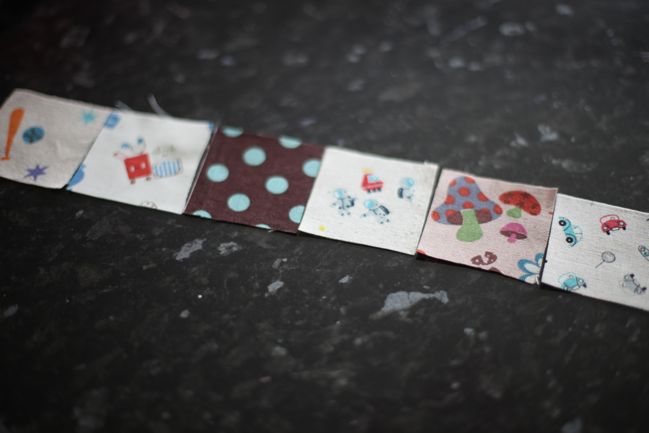
Line up the blocks in the order you like, and make sure this strip is wider than the garment you’re going to alter (you will lose a bit of length in the seams).
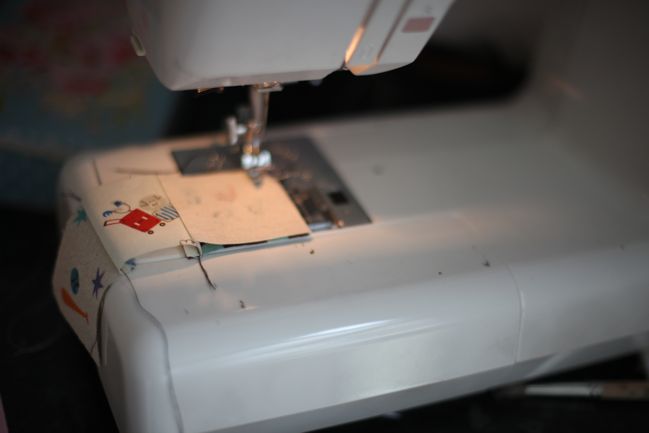
With a straight running stitch, sew all the pieces in the line. When you’re sewing the blocks, the right sides of the fabrics will be facing each other and you’ll be sewing looking at the wrong side of the fabric.
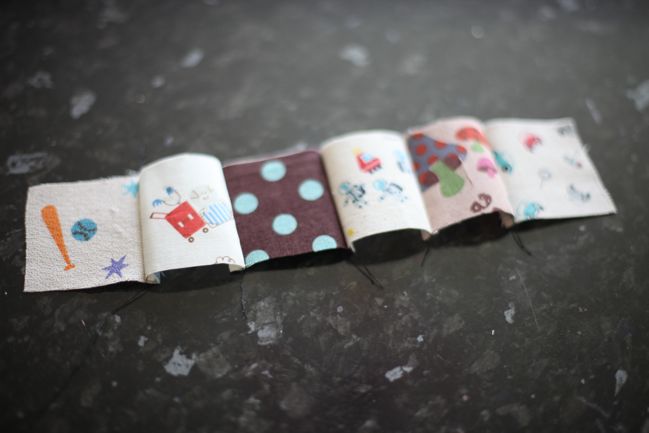
When you finish that, they will all be attached but they won’t be very flat.
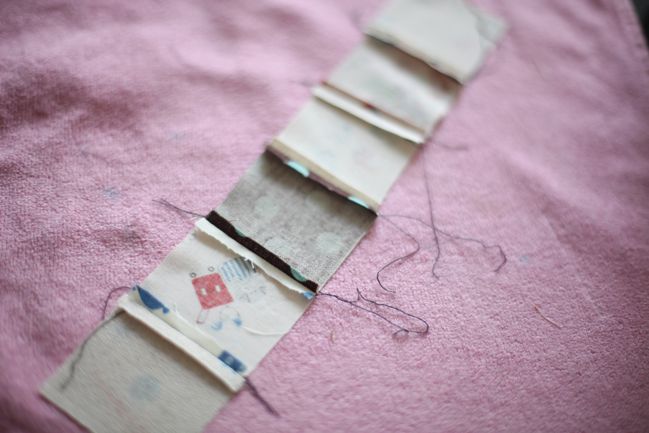
Turn the strip over and iron from the back, pressing the seams apart.
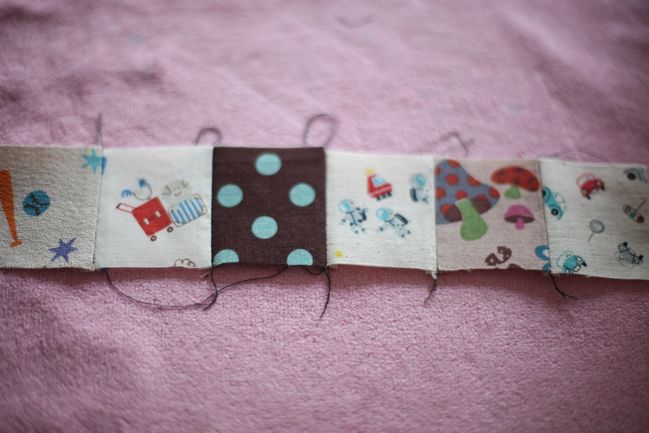
Presto – now the patchwork strip is flat!
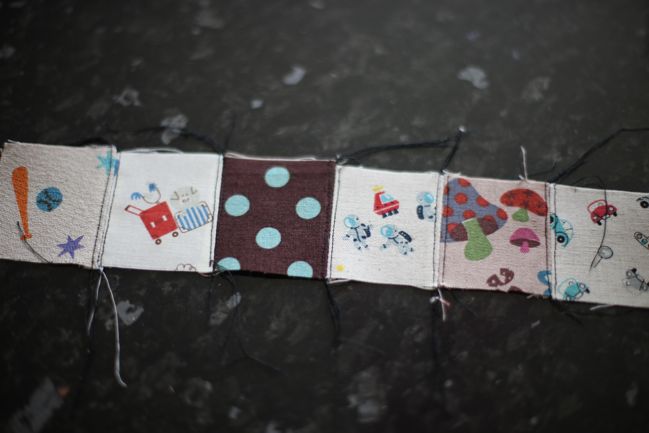
This step is optional – you can omit these stitches and the patchwork will still hold together, but I prefer the extra stitching on either side of the seam. It’s just a straight running stitch like everything else, about 1/8” either side of each seam.
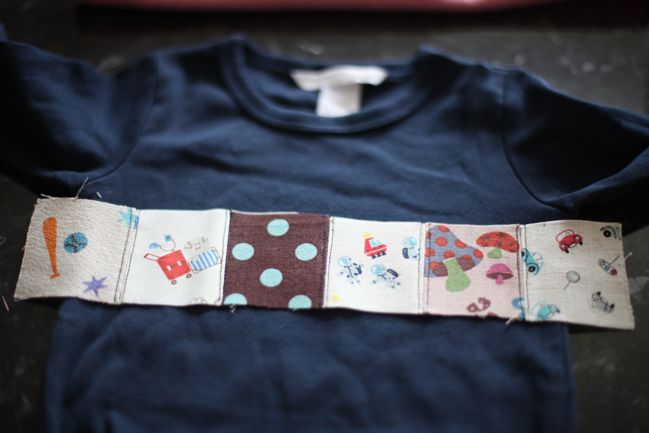
Double check that the length is still plenty to go across the garment. If not, add another square or two and repeat the steps for ironing and stitching. Then we can start to alter the original item.
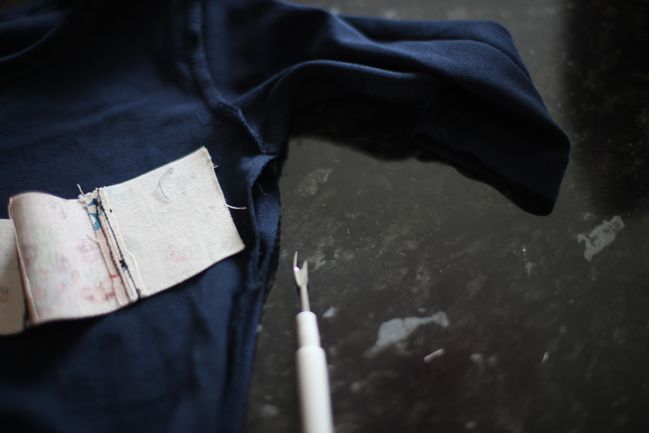
The patchwork strip will go immediately below the point where the bottom of the sleeve joins the body of the shirt. Turn the garment inside-out and use a seam ripper or your scissors to unpick the stitches below the sleeve, using the patchwork strip as a guide for when to stop unpicking. There is usually a locked stitch or heavier stitching at the join of the arm to the side seam. If you can, avoid unpicking that stitch, so you won’t lose any strength in that stretch point. (If you do, don’t panic – you can just stitch more later.)
Repeat on the other side seam.
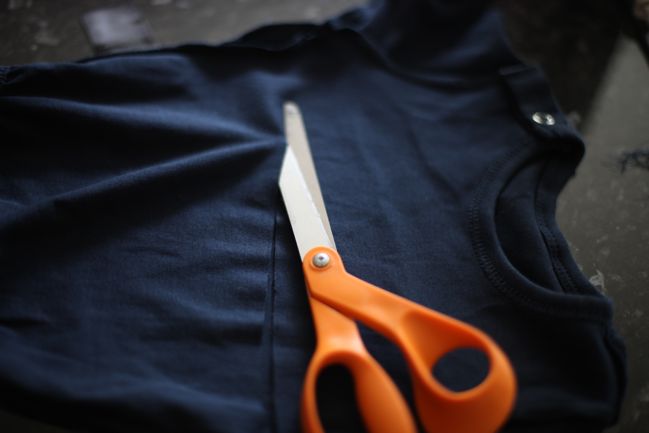
Triple check that you are looking at the front of the garment – it’s easy to get mixed up since it’s inside-out! When you’re sure you have the front, cut a straight line from the middle of your unpicked stitching on one side right across to the other side.
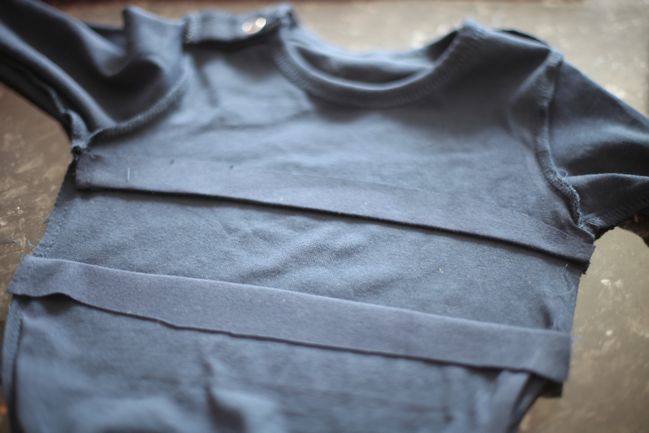
Fold the fabric back to create the size of window you want for your patchwork strip. The window should be slightly smaller than your strip, since you’ll loose a little bit either side for the seam. Press the folds flat with the iron – this will make it much easier to sew the patchwork in a straight line.
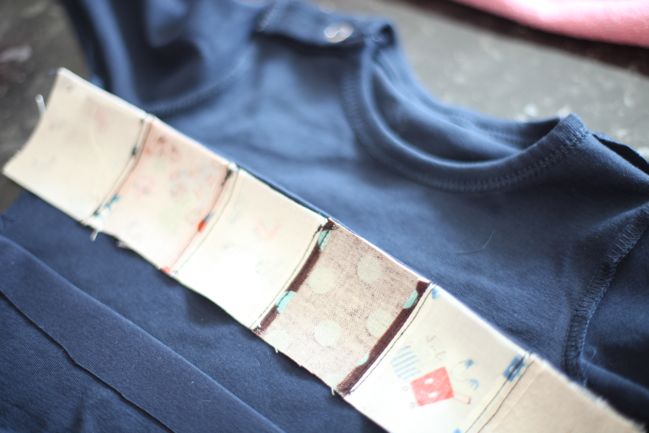
Line up the patchworked strip with the top fold, with the right sides facing each other. The edge of the patchworked strip will be in line with the crease you ironed. You can pin this if you like – I am a bit of a disaster with pins so I try to avoid them if possible! What is worth remembering is the knitted fabric will stretch and your patchwork strip won’t, so pull the knitted fabric a little bit when you sew – not lots, just a bit. Use that same plain running stitch along this whole seam.
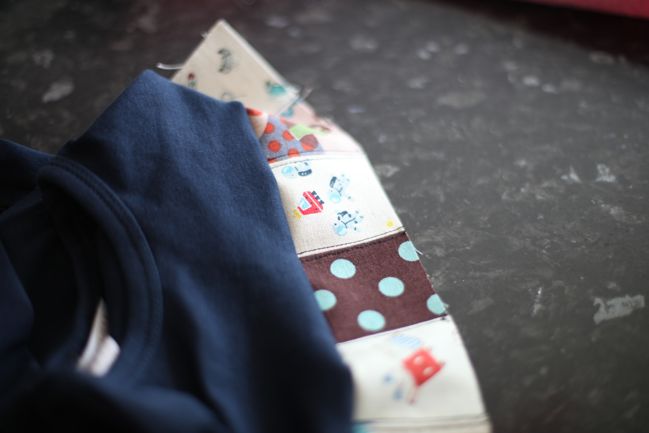
If you flip it right-side-out after you’ve sewn that seam, you can see it’s starting to look right! But go back to inside-out for now.
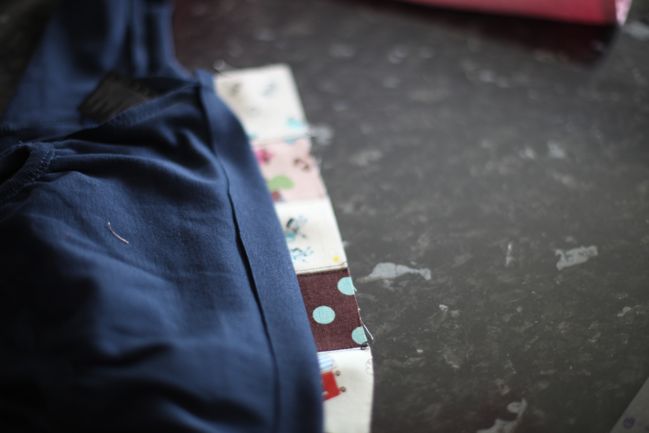
Line up the bottom crease with the bottom of the patchwork strip and sew again – right sides facing each other.
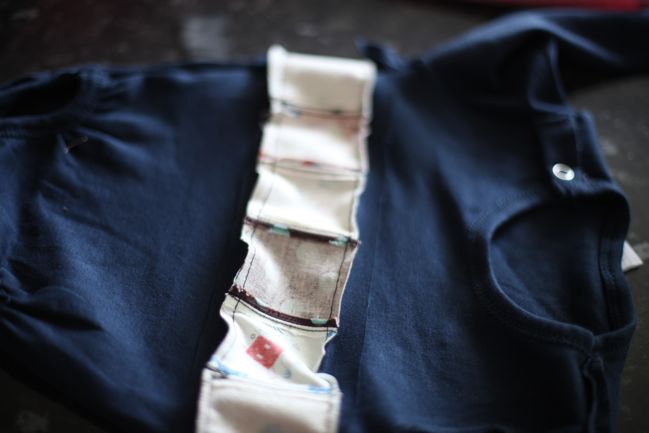
Check that there are no gaps in the stitching and iron this flat. You can trim back bigger pieces of fabric and get rid of long threads at this point too.
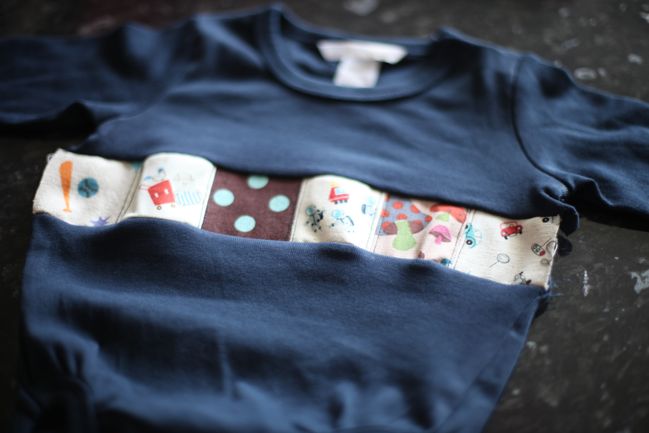
Turn it right-side-out and check that everything looks how it should. If so…
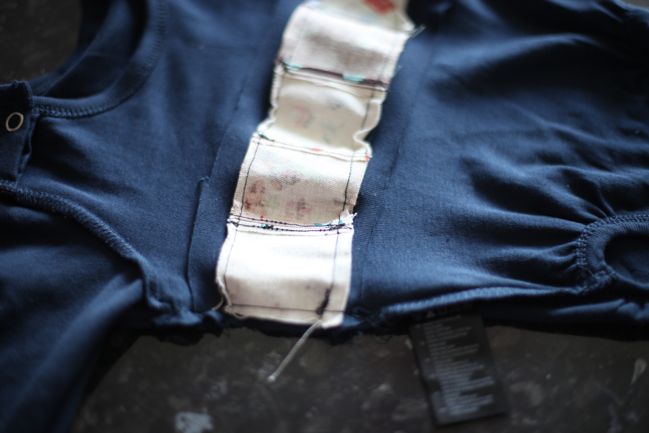
…we need to stitch those side seams back into place. Make sure to sew backward and forward at the end of each bit of stitching, since side seams need some strength. You can pull on the shirt to see if any holes appear. If they do, sew some more!
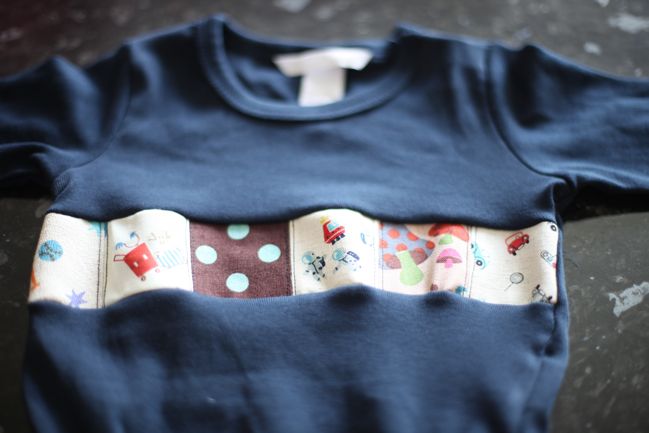
You can leave it just like this and call that finished…
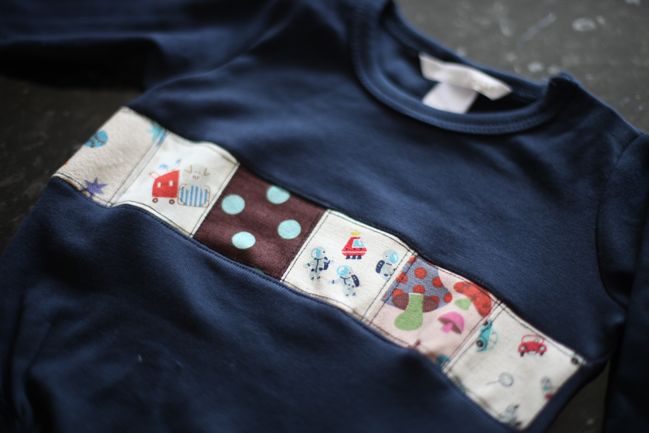
…or you can go back and repeat the stitching 1/8” either side of the seams, like before. These stitches can be a bit wobbly since you’re sewing through all those seam bits on the other side, but they are actually the seams I love, wonkiness and all. (Clearly I would be fired from a garment sewing factory. And I also keep this a secret from my neighbour who is a retired quality control inspector and kept men’s shirt collars in check for many years, apparently!)

And that’s that! Completely unnecessary in life? Yes. But also fun and super inexpensive and the whole project took under an hour. So I think that makes it okay! Especially as now I can make sure at least once in my nephew’s life, he can be clothed in both astronauts, VW Beetles and 1970s mushrooms. Yes indeed.
So have you been doing anything crafty this Sunday? Do share!
xlovesx
![]() Read more about: tutorials with-a-needle-thread
Read more about: tutorials with-a-needle-thread
Next post: Scrapbooking giveaway winner
Previous post: Scrapbooking vintage Polaroids


