Two Tutorials :: Floral Headbands and Paper Pinwheels
Today I’d like to introduce you to something and someone a little new. Way back when last December, I was making a masterplan for 2013, and I knew this was going to be a challenging year in terms of time and work and all those things that life throws at us. This year has involved so much that falls into the category of never thought I’d do that, and just a lot of non-work stuff that was going to take up so much time. On one hand, that’s a great time to be working for myself, because there’s no need to worry about a boss thinking I’ve lost focus and need to work more. On the other, if I don’t have time to work, I don’t have a business. That’s not very useful! The answer seemed pretty obvious: I needed some help in 2013! Enter a lovely lady called Alice, who was looking for a job that would give her experience in the crazy world of being self-employed, making and crafting, and still keeping the lights on at home. Thank you, 2013, for throwing some pretty good stuff in the mix!
So far, everything Alice has worked on has been behind the scenes, so few of you have spoken with her. (Don’t worry – if you had an email from me, it’s actually from me!) She’s a very talented crafter, but Alice works with fabric and thread for most of her projects rather than paper and glue. Over the last few weeks we came up with a little project that would let us combine the two: a series of joint tutorials. For each of these so far, Alice has created her project and step-by-step tutorial first, then I’ve taken inspiration from her project to create a scrapbook page tutorial in response. We’re not sharing the same ideas in two formats, but it’s really an exercise in how one thing can inspire something else quite different, so there are two step-by-step tutorials you could follow, or you might be inspired to take another step to your own idea. We hope so, anyway!
That’s enough rambling for today, but I we hope you enjoy this new series, whether you’re a dedicated scrapbooker or you take up all sorts of crafts! Today we’re taking you through floral headbands and paper pinwheels, so please welcome Alice Partridge for her first tutorial, followed by my scrappy steps.
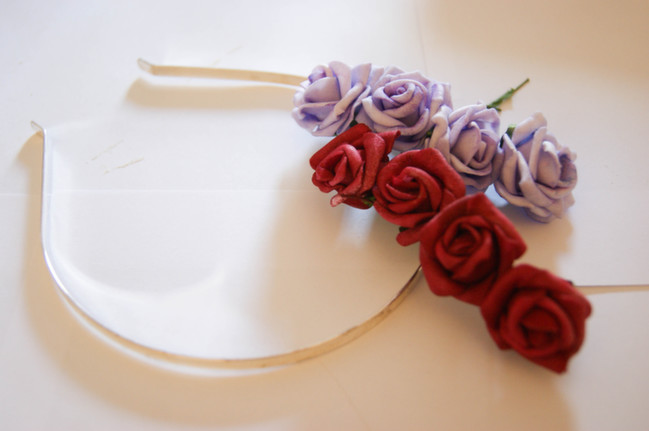
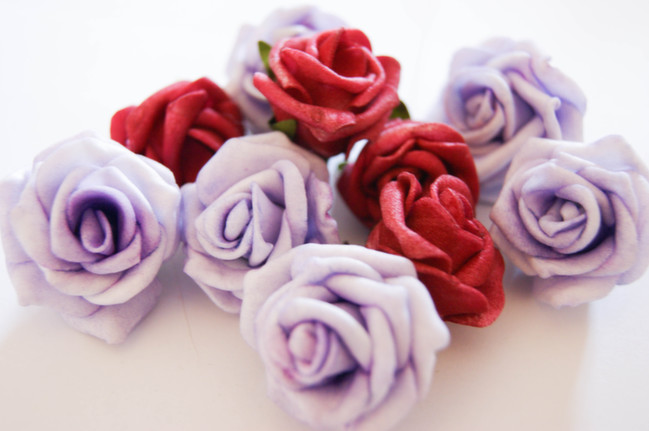
The genius of this project is it doesn’t require much doing, yet you get a lovely creation at the end of it! For the headband, I bought a simple silver alice band and two packs of small stemmed foam roses. You can always add extra decoration, but I will go into that later on.
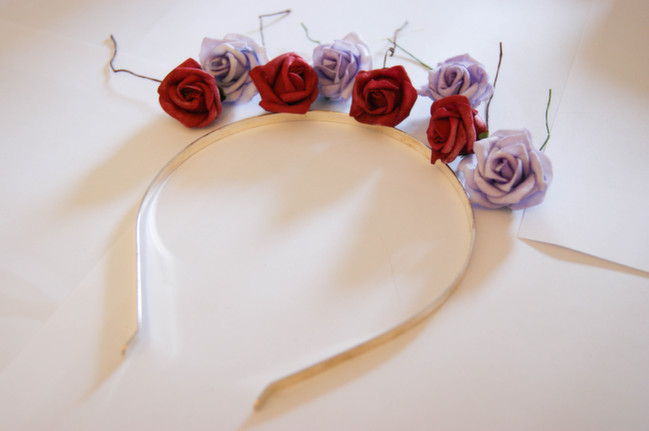
Before you start to put the flowers on the headband, figure how you want them arranged. Do you want a pattern, like three of one colour then two different, or perhaps all one colour? They can be quite fiddly to remove, so make sure you’re happy with your pattern beforehand.
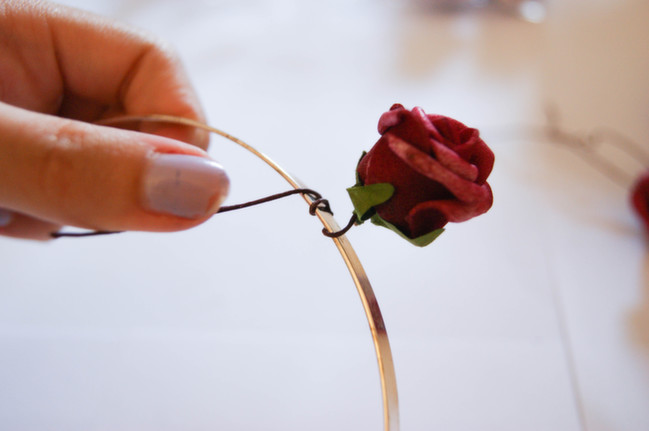
It’s fairly easy to attach the flowers. Simply place the flower where you want and hold it down. Wrap the stem around the headband. You may find that it’s still quite loose, but this will change once a few more surround it and you can push the stems closer together. It can be fiddly but once you’ve done one, you get the hang of it.
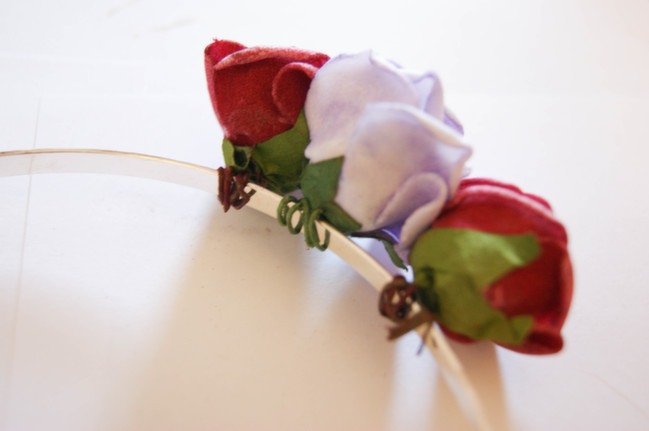
Continue to add on as many as you wish! Whilst making this, I kept trying it on my head to see if one or two more flowers were needed to even it out. Always handy to check and add more on then rather than before you’re about to wear it out!
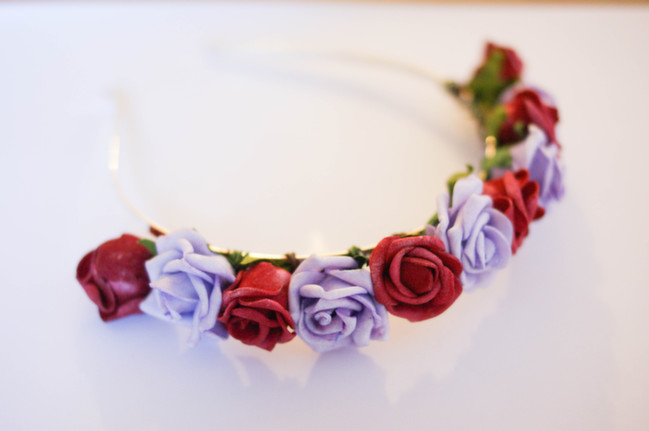
Ta-dah! The finished headband. Doesn’t it look lovely?! If you wanted to add some ‘glam’ to the headband, why not add some beads onto the petals and a sparkle of glitter? Or if you wanted to get the kids involved for a little summer project, instead of using an alice band, get some pipe cleaners to make a headband with funky shapes on top, such as hearts or stars.
I hope this has inspired you to get out your inner flower beauty and has made you feel all summery! If you make your own summer headband, I’d love to see.
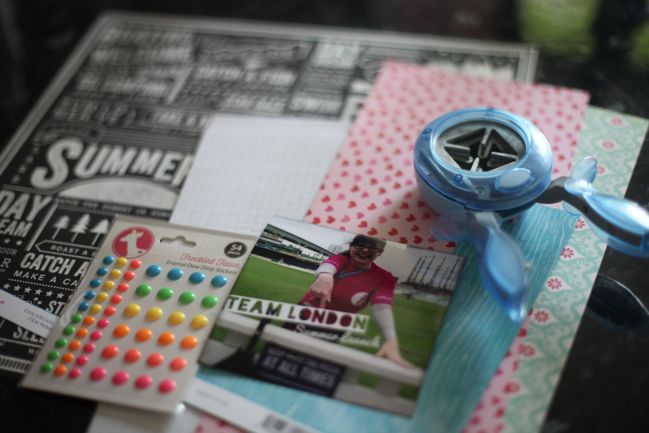
Taking inspiration from Alice’s project, the first thing that came to mind was a design with paper flowers, but I felt I needed to keep thinking for two reasons: first, that it was just too obvious, and also that after a long expanse of using paper flowers on nearly every page, I haven’t used any in a long while and I haven’t really been missing them. I returned to my thought behind the July kit of creating embellishments with punches, and remembered one punch that is great for creating embellishments with dimensions: the pinwheel punch by Jenni Bowlin for Fiskars.
Other supplies I gathered included that text print patterned paper by Pebbles, the neon enamel dots by Freckled Fawn, a few scraps of patterned paper in bright colours, baker’s twine, and some foam squares.
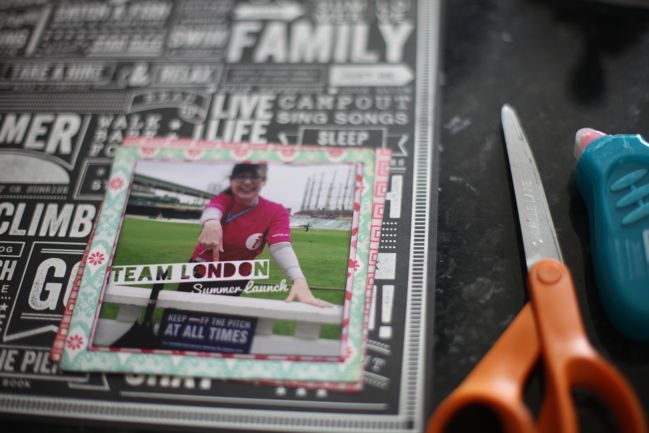
When I ordered this patterned paper, I knew I wanted to use just a single photo with it, so much of the design could still be appreciated. It’s summer themed, and this Instagram photo fit that. The text on the patterned paper makes it a bit difficult to include a title in my normal style (though large or very bright titles would still work well) so the text that was already on this photo seemed to make it the best match. A few mats in the colours of the event branding (pink and turquoise, thanks Team London!) help to keep the picture from disappearing into that busy background.
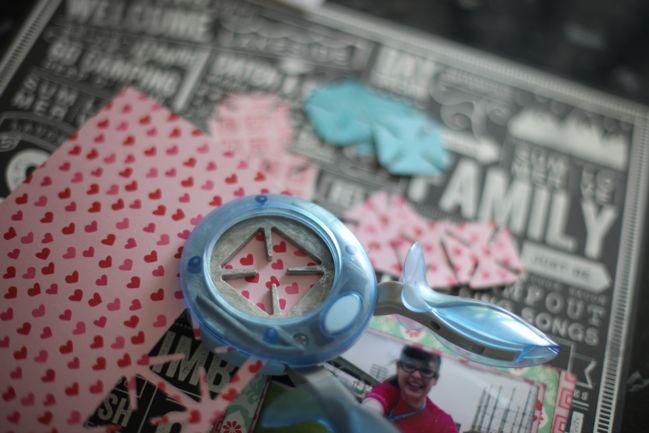
Then scrap punching! With this punch, you’ll either need patterned papers with both sides that you are happy to show, or punch double and glue the different papers together before you create the pinwheels. Luckily these scraps were all double-sided in colours and patterns that would work together. I punched three pieces from each of three different papers.
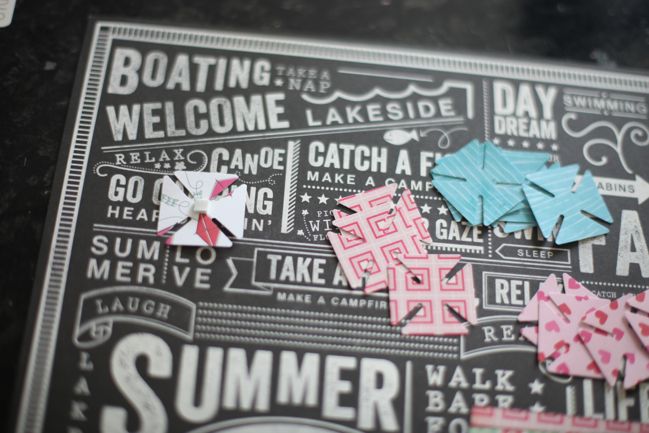
To build the pinwheel embellishment, add a foam square in the middle. They can also be made with flat adhesive in the centre, but I prefer that little bit of dimension.
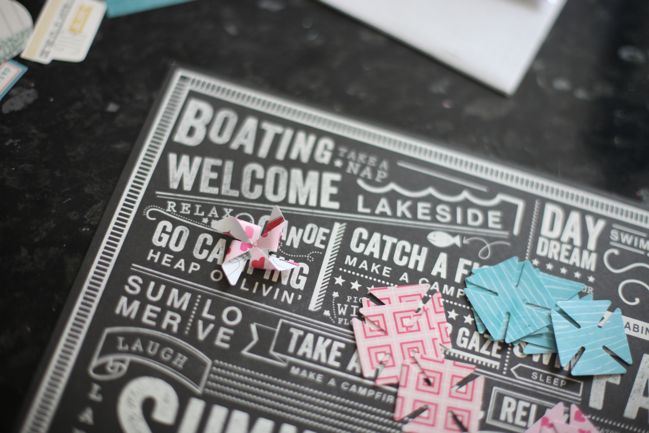
Then curl the four corners into the middle. The adhesive of the pop dot will probably be enough to hold it all together, but if not, it’s easy enough to add more adhesive to make sure it’s secure.
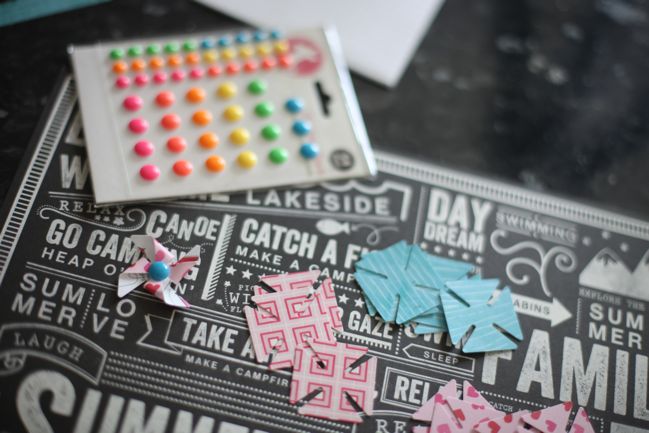
Top with an enamel dot. These just stick on, so that’s super quick and easy.
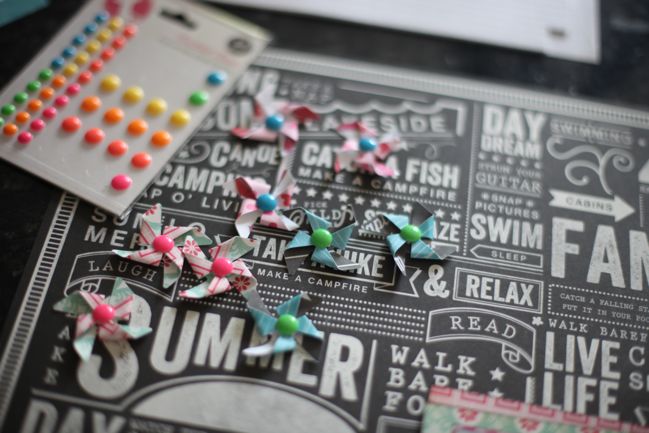
Repeat with all the punched pieces. For this design, it helps to fold at least a few in the opposite direction to the rest, so they don’t all look completely identical. If you want something orderly, like pinwheels in a grid, or a realistic scene where they are caught in the wind, then you might want them all facing the same way.
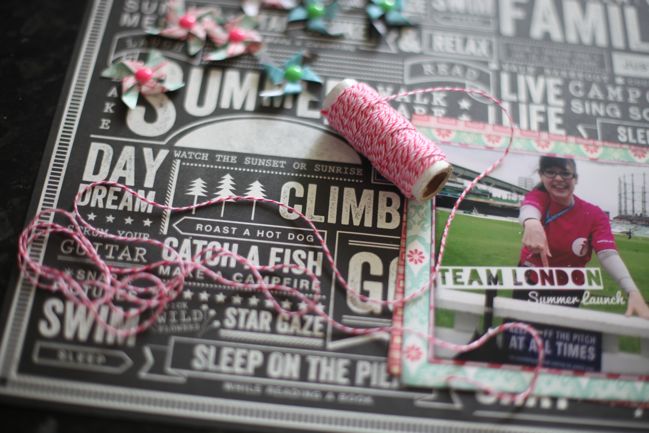
When Alice attached the flowers to her headband, all the loops of wire really caught my attention. I didn’t want to bring wire onto my page, but liked the idea of loops. Lately I make my loops from baker’s twine, so I unrolled it here to see if I liked the look of this twine with all these papers, and decided it would indeed do.
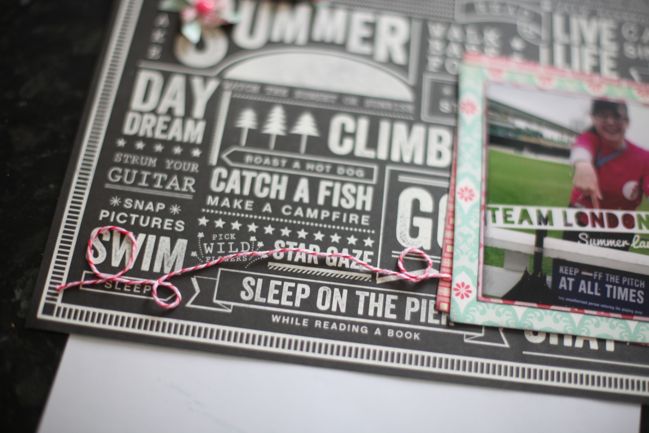
Cut the thread to a little longer than the space you want to cover so you’ll have room for the loops. I love spray adhesive for loops of twine, but it’s really not indoor-friendly, so I use my normal dot adhesive on the roller. It’s messier and uses more of the adhesive than I would like, but it’s quick, convenient, and doesn’t require an extractor fan for fumes!
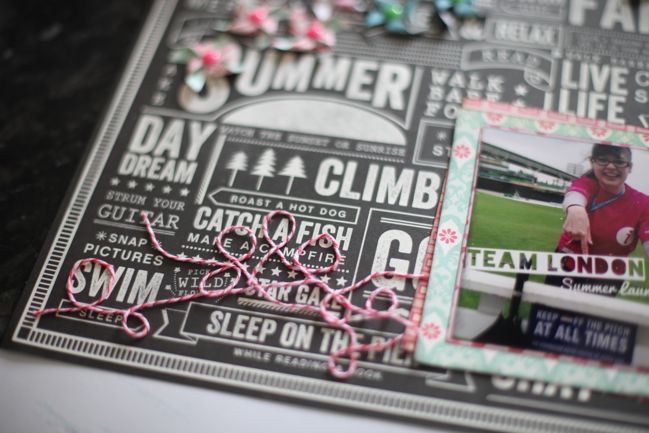
Continue looping and pressing into place until you are happy with the look. Err on the side of going just slightly overboard, because some of it will be covered by pinwheels. Tuck the edges on the right side under the photo mats.
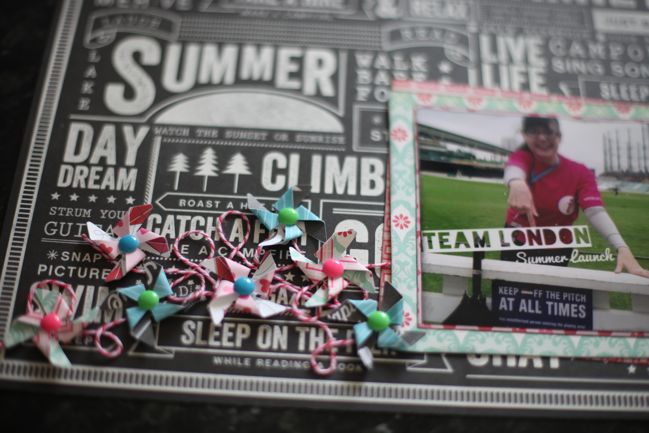
Add the pinwheels, dotting them about the loops. I used seven in this section of the page.
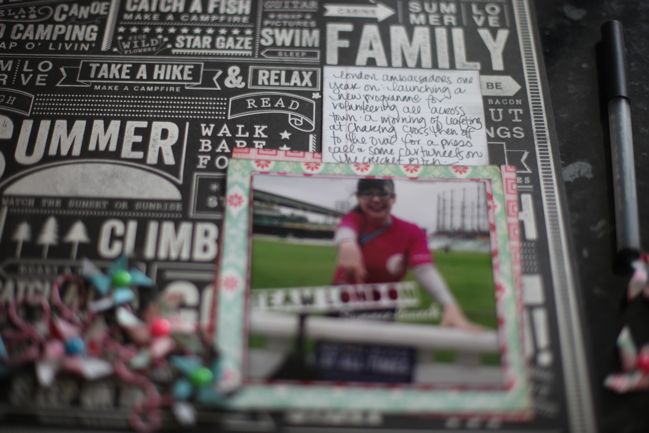
So far, everything on the page has formed a horizontal line across the bottom third of the page. Now work up from the photo on the right side, building the page into a corner design. The writing here is on a 3×4 card.
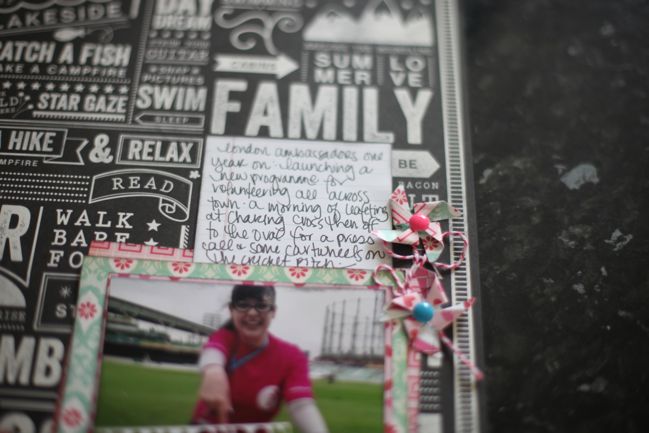
Repeat the loops of twine and the pinwheels on a smaller scale, next to the writing. For my page, two pinwheels was a good balance, but I might have broken things with six and three if I had left more room to the right of the photo.
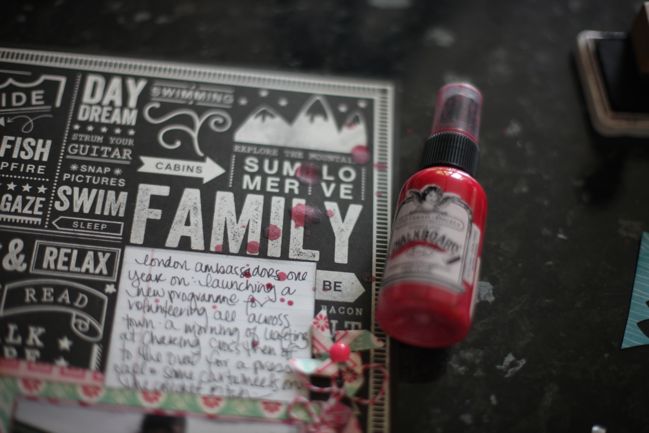
Some mists just disappear on black papers, but there are some that are quite opaque. I used Tattered Angels Chalkboard Mist for this and the hot pink colour stayed visible over the pattern. Start with some mist that connects the journaling card to the top right corner of the page, running off the right edge just below the corner. Then add a few more drops to the bottom left of the page, with all the pinwheels.
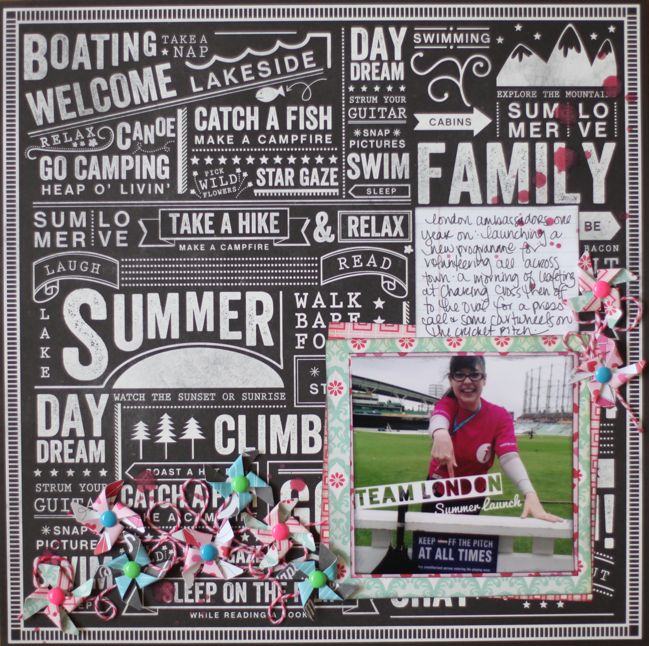
That’s it: the finished design. There’s no real need for lots of extras with the busy patterned paper in the background.
That’s our first edition of Two Tutorials! We’ll be back most weekends with a new pair of step-by-steps, so if there is a craft or technique you’d like to see, let us know and we’ll keep it in mind. Happy crafting!
| Alice Partridge is a young designer-maker from southeast England. She hopes to make a living doing what she loves, and spends most of her time reading blogs, drinking tea, or stitching with a needle in her hand. In addition to working behind the scenes at shimelle.com, her recent work includes Kirsty Neale’s upcoming craft book, Hoop-La: 100 Things to do with Embroidery Hoops, out at the end of this month. She’s busy working on her own blog to share with you soon, but looks forward to sharing her first crafting tutorials here over the coming weeks. |  |
Oh, one last thing! Today and tomorrow, everything at Two Peas is 20% off. That includes brand new releases from summer CHA, like My Mind’s Eye’s new collections, the new exclusive stamps and flair from Two Peas, digital printables and cut files, and all the workshops. You don’t need a code, which means you can also use the shipping code VHHSFE. This gets you free shipping within the US when you spend $50 on physical items (so not digital files or workshops) that are not being phased out (when you look at your shopping cart, you’ll see anything like that marked as ‘phasing out’, and most of these items have further clearance discounts). If you’re outside the US, that same code gets you $5 off the international shipping, and the same requirements apply. Hope you find something good!

![]() Read more about: two-tutorials best-of-both-worlds-kit
Read more about: two-tutorials best-of-both-worlds-kit
Next post: What You've Been Making!
Previous post: Embrace the White Space:: A Scrapbooking Tutorial by Els Bestamped


